
lets talk about my kitchen for a sec.
it.is.ugly.
okay, not that bad, but it definitely is not my favorite room in our house. it’s small (with not a lot of counter space), no dishwasher (except we recently purchased a portable one that we can roll over to the sink…a pain, but better than nothing), and it has the ugliest wood paneling you ever did see (sometimes visitors tell me they think it’s quaint. and then i mention that we should add it in their kitchen and then they agree: it’s ugly).
(before diy: removable wallpaper was added)
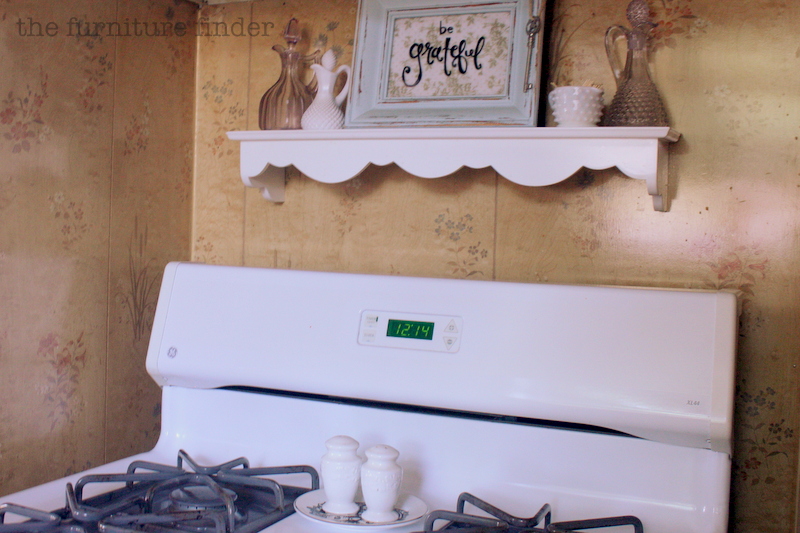
also, i don’t think i mentioned this before, but we are renting our little old house, so the wood paneling has to stay. ugh. to remedy my eyes from the burning glow of orangey wood paneling, i came up with a plan to disguise it temporarily.
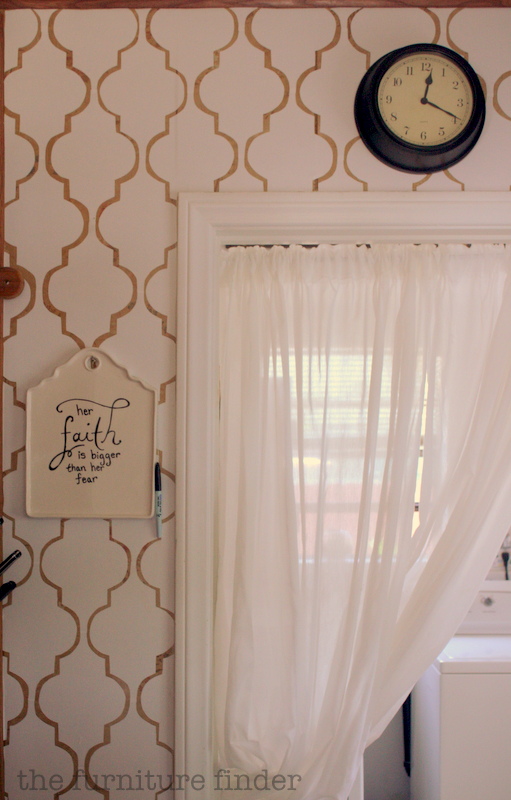
it now looks like this:
(after diy: removable wallpaper was added)
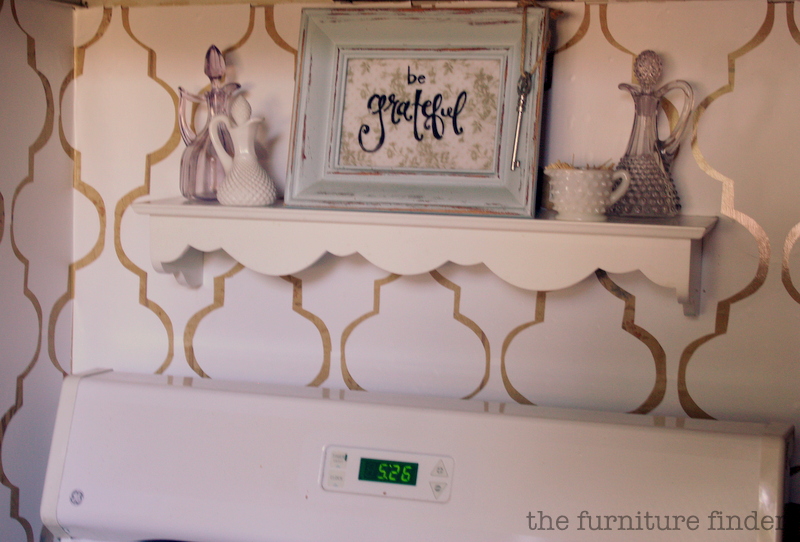
the idea for this wallpaper came from this blogger (i’m probably going to mention her a lot….it’s one of my constant reads in blogland). she painted her design on her walls, but since i’m renting and painting was not an option, i came up with a plan for a removable wallpaper.
here’s how i did it.
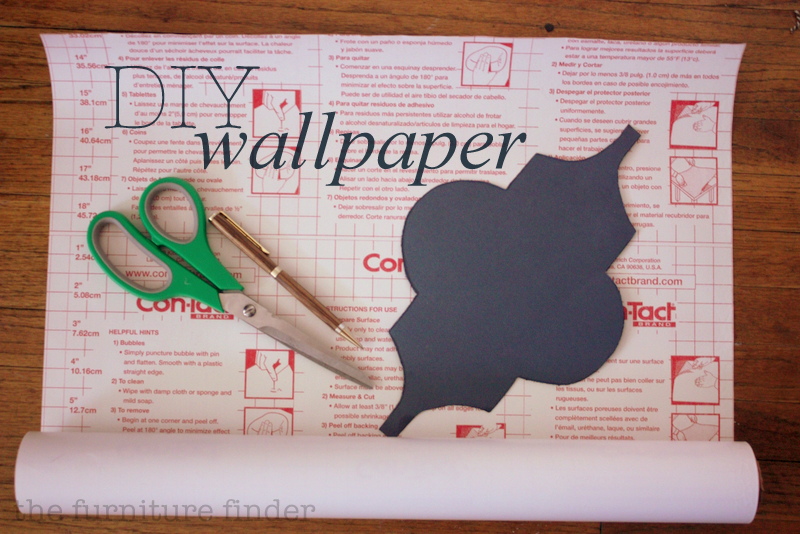
supplies: contact paper, scissors, pen or pencil, exact-o knife (forgot to add it for the pic, oops), and a design stencil. i got mine here.
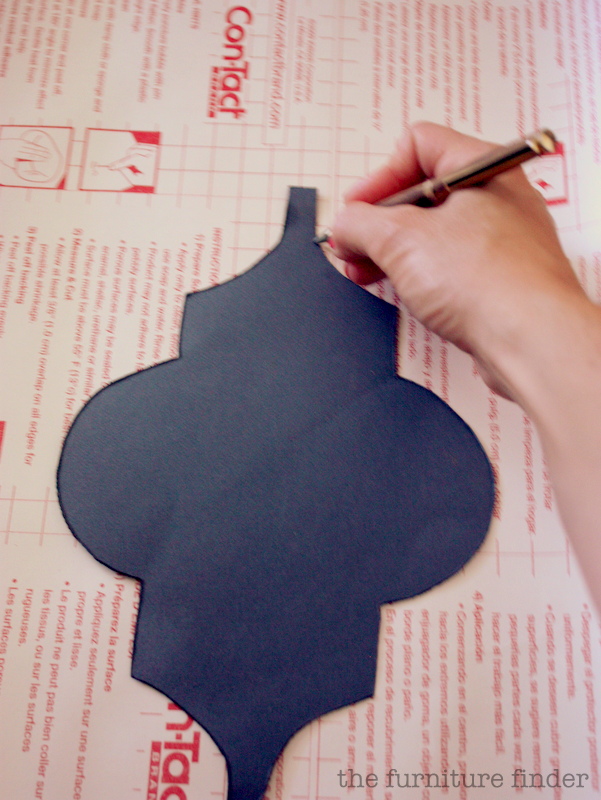
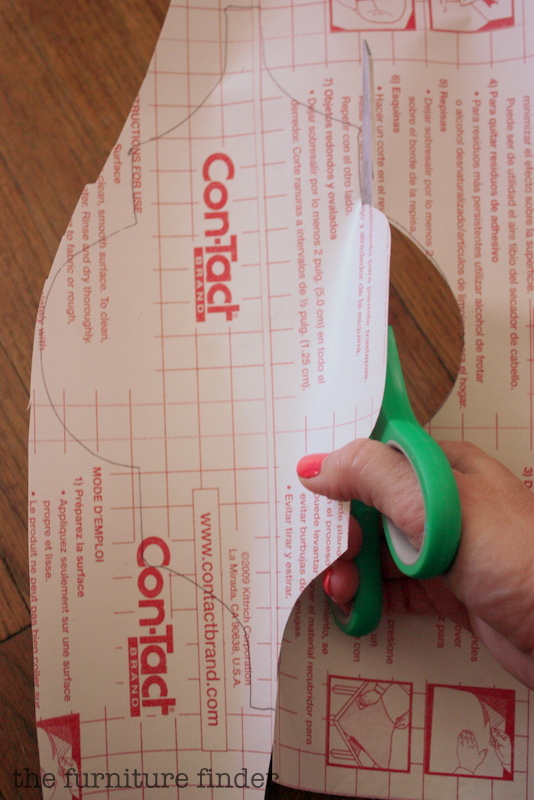
step 1: trace design
step 2: cut out design
step 3: stick design to wall
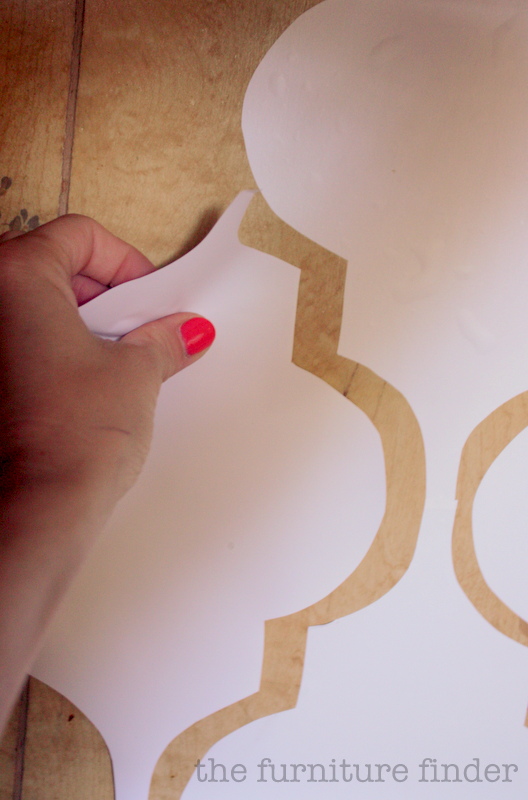
it’s that easy.
it’s not perfect, but i’m okay with that. once you step back, the design takes over and each little imperfection is masked (or at least i tell myself that).
you might want to start your design in the middle of the wall and then just work your way out.
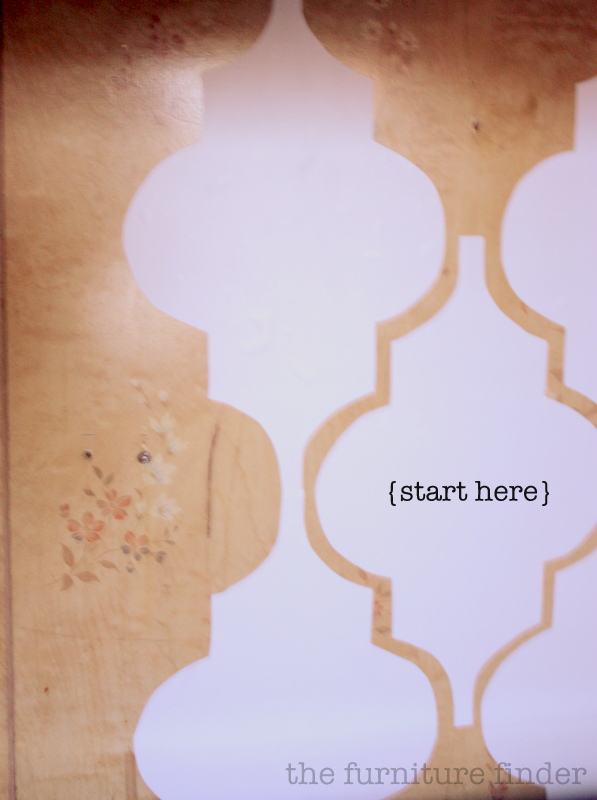
eventually, your design will start to appear on the wall.

it doesn’t take very long. maybe an hour to trace, cut and stick a wall this size:
and the best part, is that it’s removable. so, when you are ready for a change, or move out, just peel each piece off and you’re done! your landlord will never know!
i’m sure there are a zillion different patterns and colors of contact paper you could use.
hope it inspires you to get creative and have fun!

Love your idea, I’m thinking about that in my Landry room.
It kind of reminds me of your sewing room and the awesome wall you painted!
Such a great idea!!! Love it all. The design and the white! It’s a huge improvement and totally gorgeous.
Thanks, Andrea! 🙂
So impressive! It looks beautiful Kel!
Thanks, Rach! 🙂
Pingback: Laura’s Stairway to Heaven | Makeshift Living
So happy you found a remedy for the walls 🙂
Thanks, Alyssa…a little better, eh?! 😉
This is awesome! I have the exact same paneling and I HATE it!
I have had some contact removal attempts that didn’t work all that well…. I am hoping on paneling yours will be better.
Uh oh…I’ve tested it in a few spots and noticed that it took of the shiny finish. I’m guessing we’ll have to re-laquer the paneling if we ever move.
love your talent and creativity 🙂
Thank you! That’s very kind. 🙂
Pingback: 15 Easy Ways For Rental Home DIY