DIY Basket Refresh

For the last six months I have searched for a basket trunk that could contain the ever growing toy collection that my sons’  have. We had an old metal trunk that was great looking, but not so great on little fingers if it were to fall on them. My son knew the rule: only an adult can get toys from the metal trunk. I was starting to feel a little paranoid, however, when my oldest son had friends over because I didn’t want anyone to get hurt. So, I scoured the internet looking for a large enough basket that had the style I like and had a lid light enough that if slammed shut, would not hurt any kiddos.

To my surprise, I couldn’t find anything.

I searched the big retail stores: Pottery Barn, West Elm, Crate and Barrel, Ikea.

Nothing.

Then I searched thrift stores, Craigslist.

Nothing.

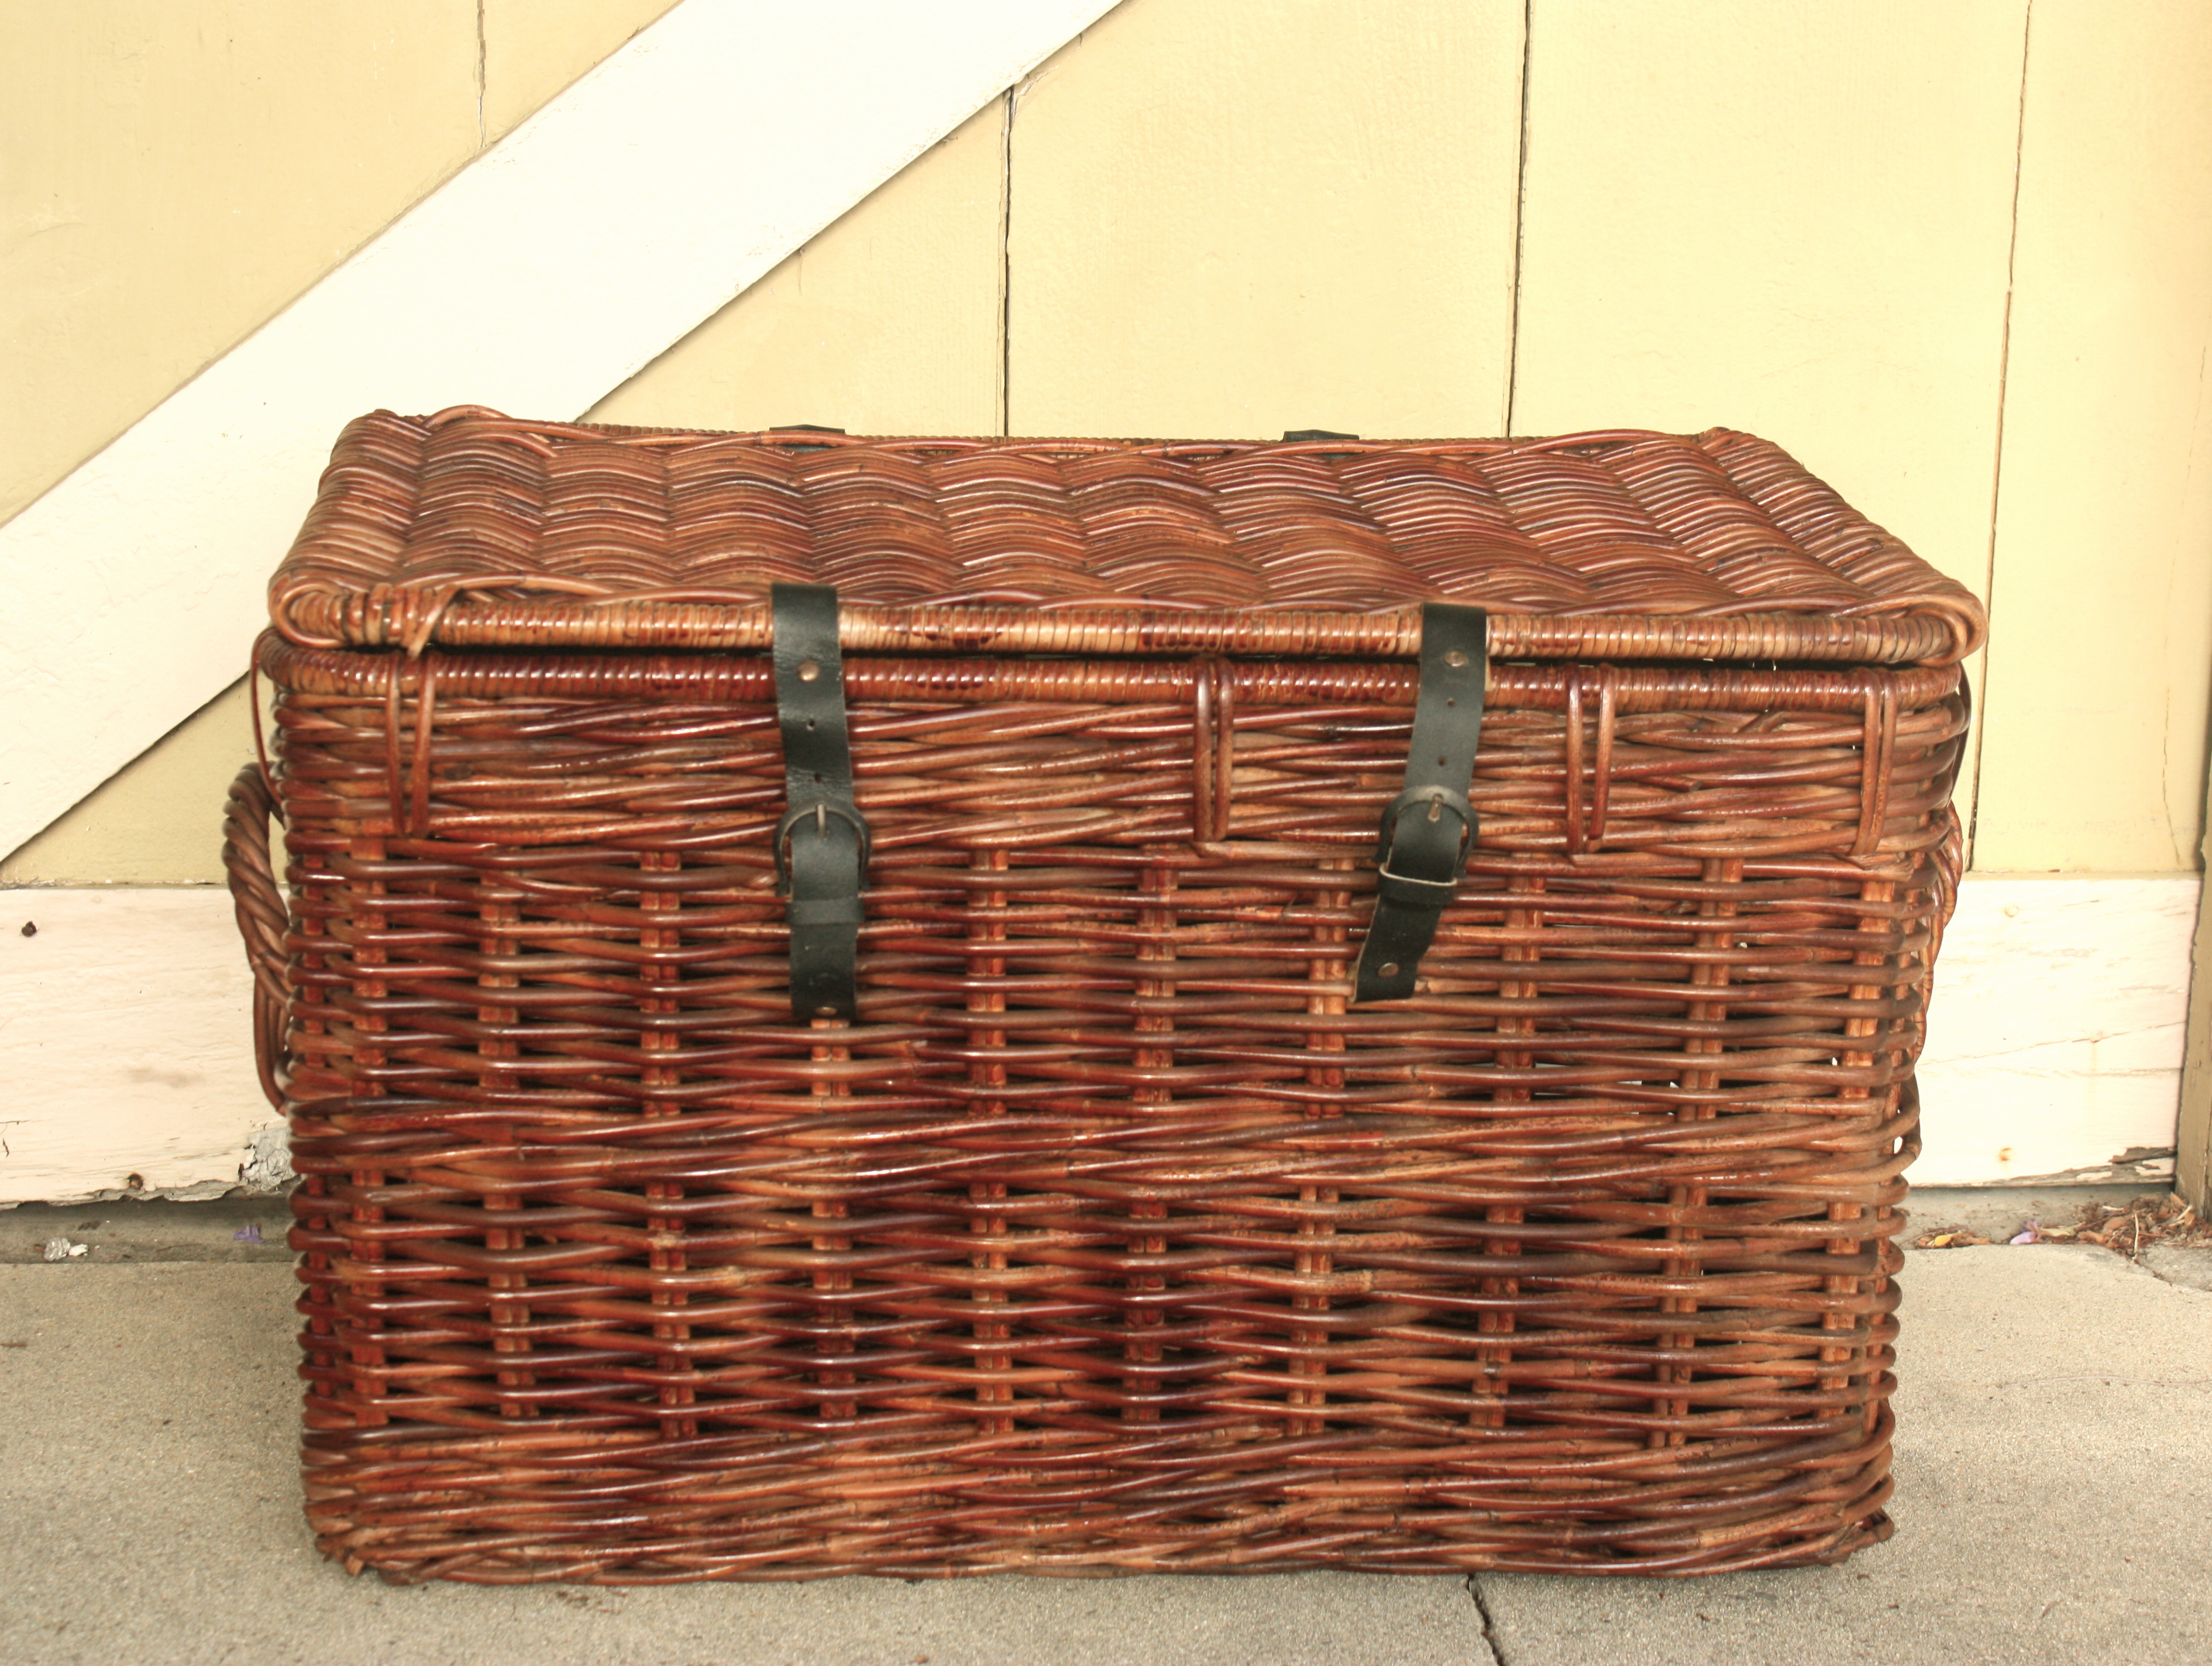
One night this last Summer, my little family decided to take a walk around the block to get some fresh air and to my surprise this was on the curb, ready for trash day:

IMG_9869

The basket trunk of my dreams! (ok, well sorta, but who would have thought I would find it on the curb?! Life is funny.)

The homeowner was sitting on his porch when we walked by, so I quietly asked him if the trunk was trash (just to make sure). He said, “Yes.” They were purging at his house and if we wanted it we should take it home.

Well, okie dokie, thank you sir. We did. 🙂

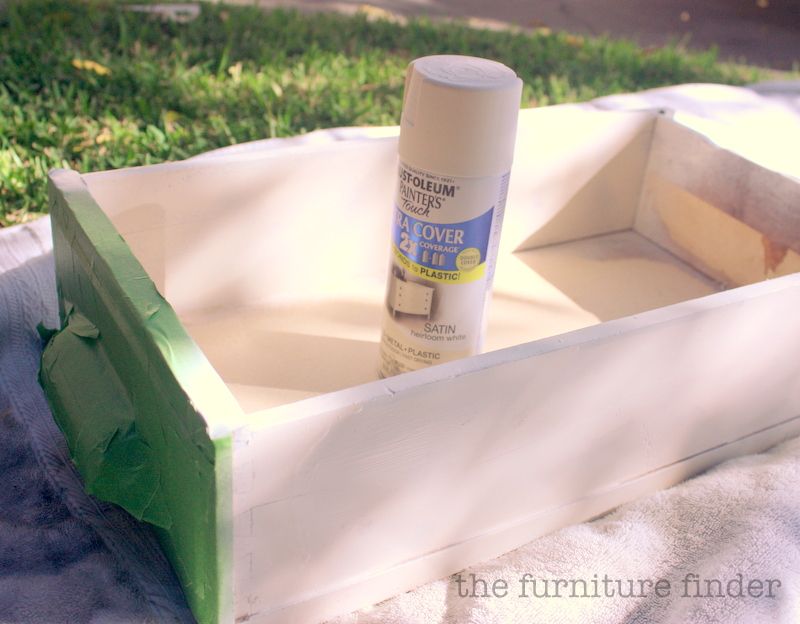
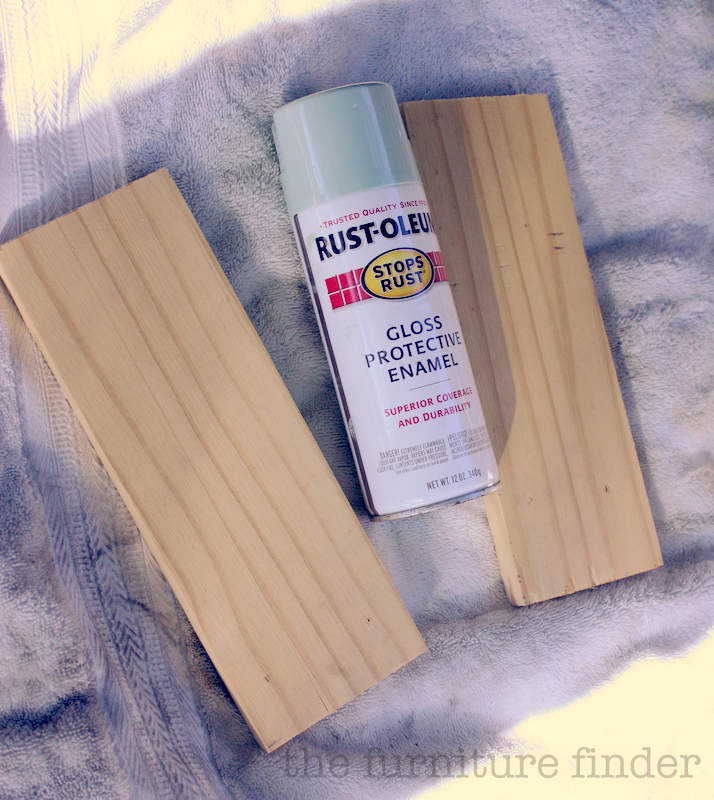
As you can see in the picture, it was a little worn. I remembered a blog post a few years ago about how to refresh your baskets using this:

IMG_9874

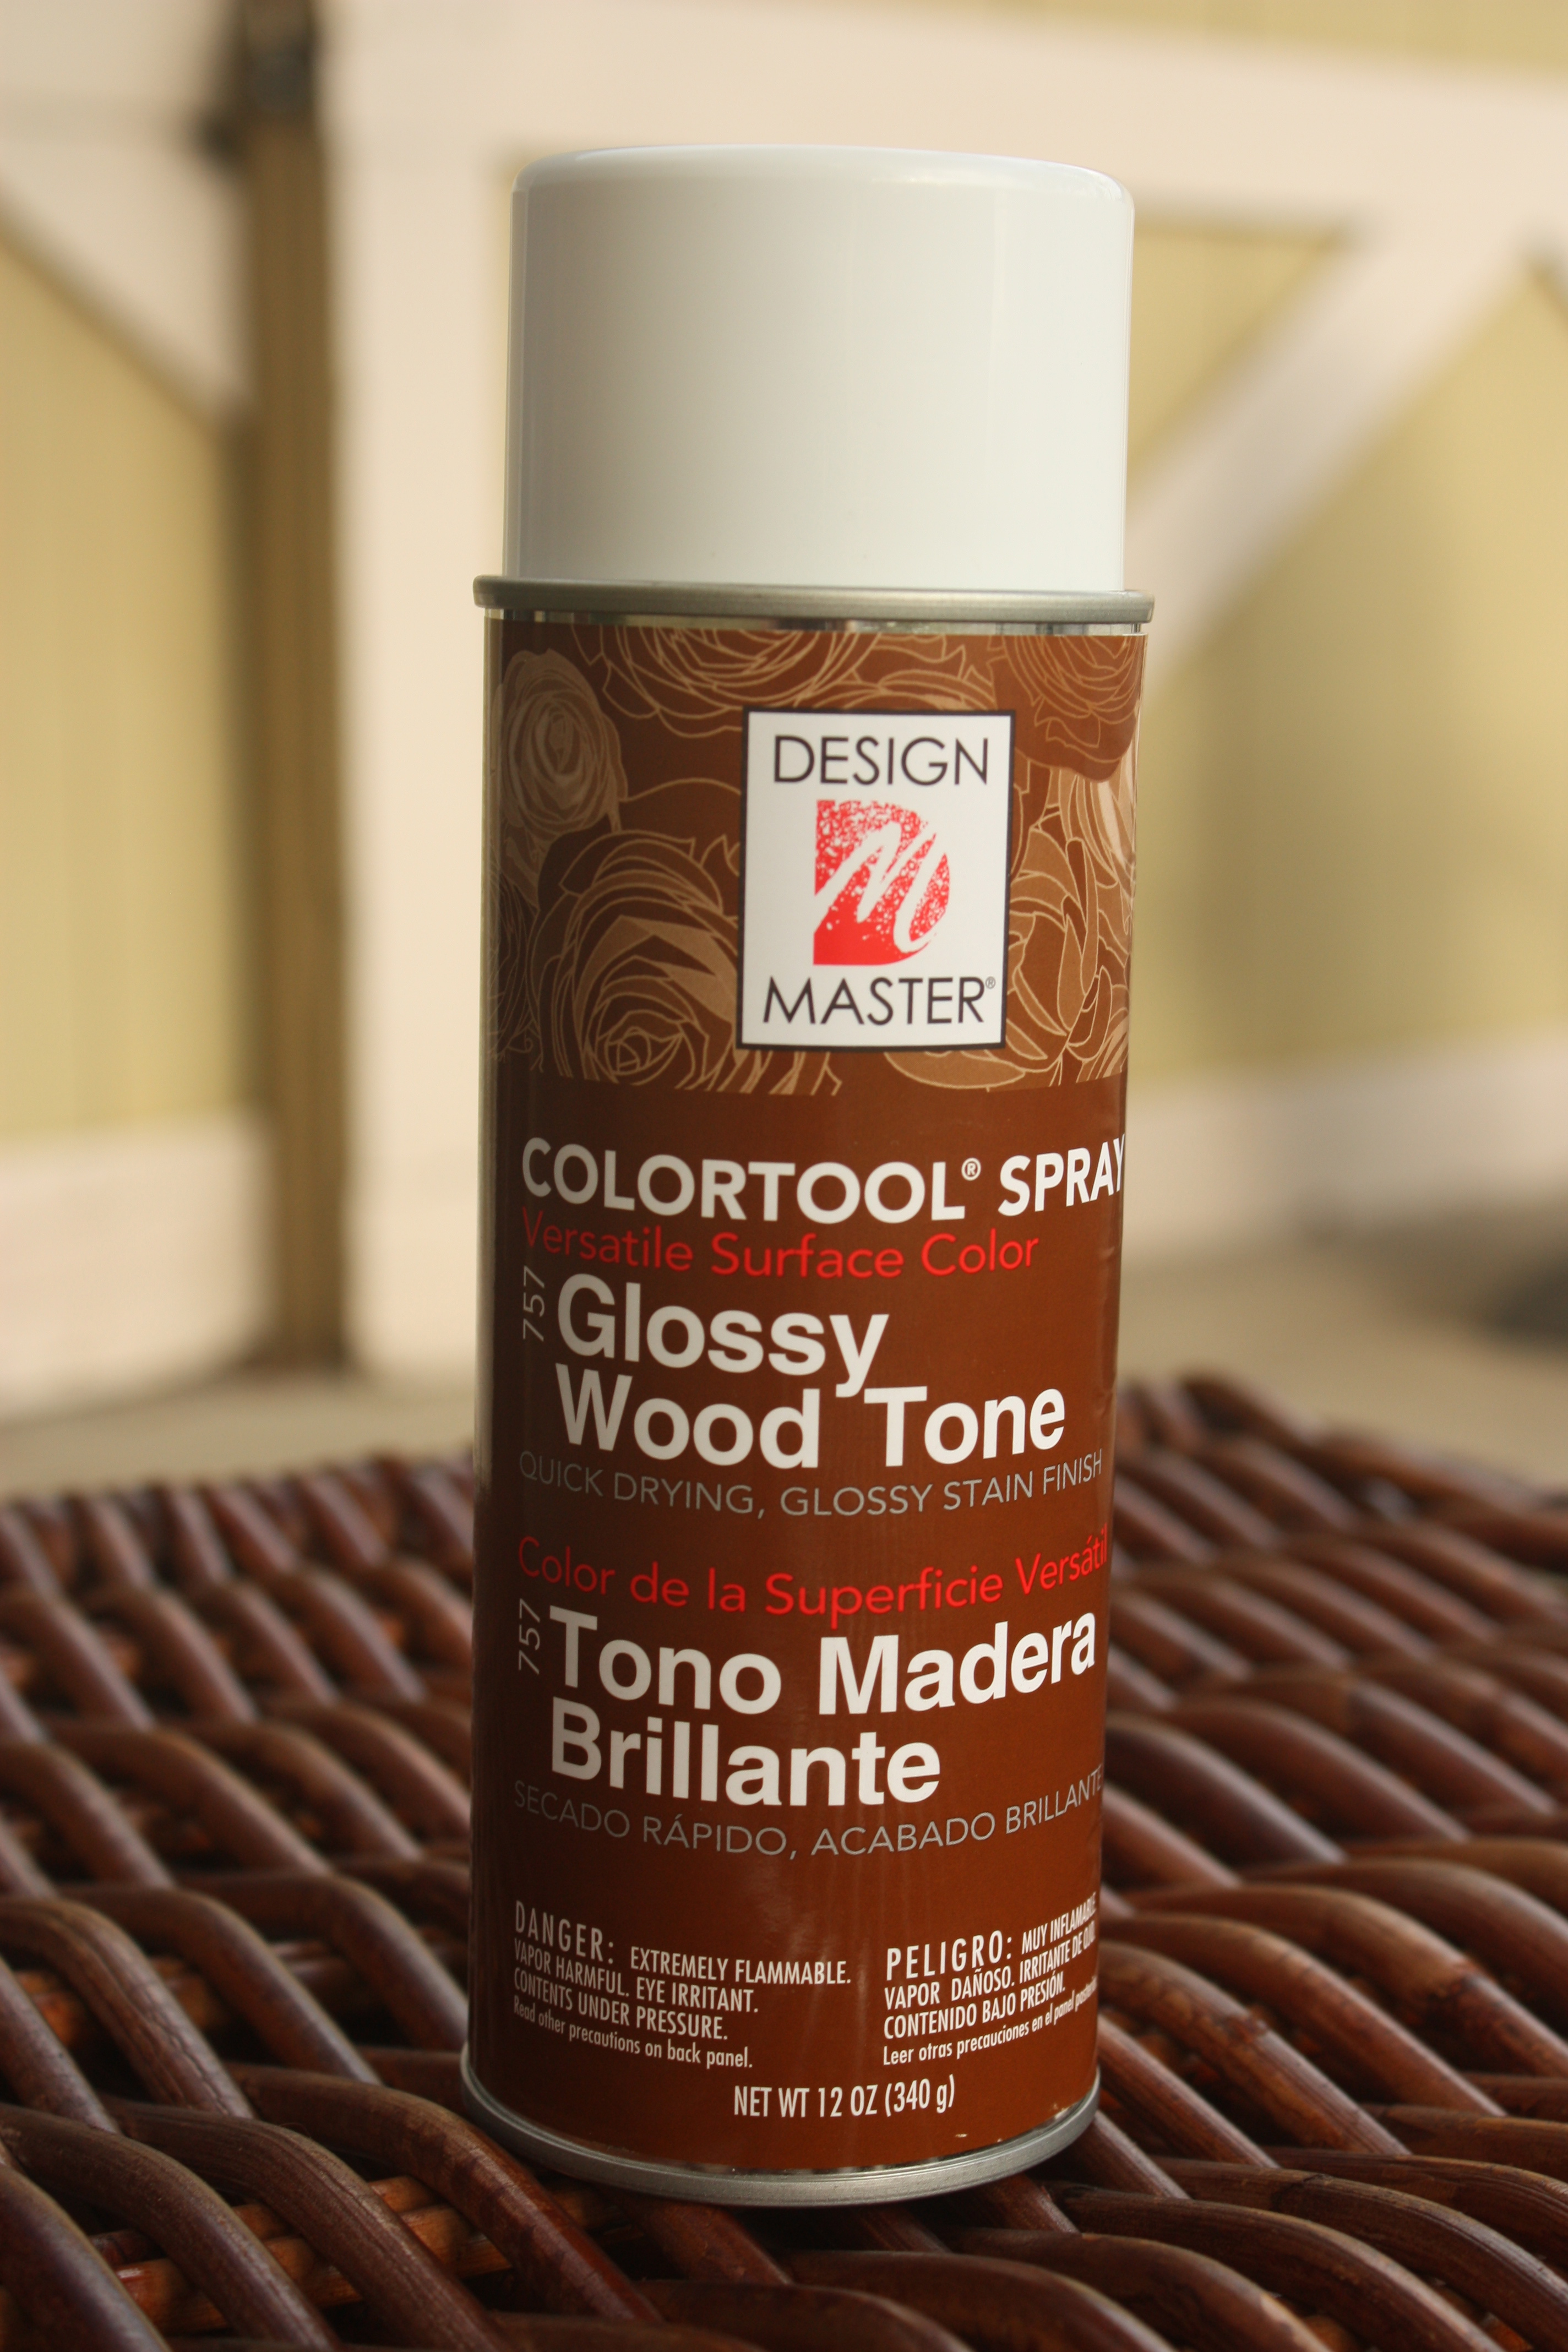
So, I gave it a try and was pleasantly surprised.

IMG_9879

IMG_9875

Now that I look at this photo, I realize I’ve missed a few spots. I’ve been a little sleep deprived lately, so projects happen quickly. (if you follow me on Instagram, you’ve notice a new little human was added to our life. More on that next time.) 🙂

xo,
Kelly

house tour tuesday: my new friend

i am so excited to show you all this house!

IMG_2503

i spotted it a couple of years ago when i was taking my son for a walk. there were cute little buntings hanging in the windows and i somehow just knew i would hit it off with the mama of the house.

IMG_2507

fast forward to this last weekend and i finally got to meet that mama and her sweet family. they were having a yard sale and had the most adorable old farmhouse chair in the sale that i couldn’t pass up. (side note: we had our own garage sale that morning and after ours was done, i hopped on my bike to see what the neighborhood sales had to offer. it’s a sickness i tell you. i’m addicted to old furniture and junk).

IMG_2519

so, after a few minutes of chatting and bonding over our love of decor/diy blogs, i got to take a tour of their cute old house.

IMG_2546

there are so many fun, amazing details of the inside that i think i became speechless. (which if you know me, does not happen often!) 😉

IMG_2621

like this giant pendant lamp that they made (they MADE! oh.my.gosh!). i want one now, too!

IMG_2532

or the cute artwork that she just “threw together.” (M, i want to order some artwork for my house!)

IMG_2513

and pieces of art that she used potatoes to stamp pops of color onto.

IMG_2525

my favorite art piece in her house was this little saying that she did freehand with a pen. (SO cute! and i LOVE its message!)

IMG_2534

there is so much eye candy it’s hard to have a favorite.

IMG_2536

and then before i knew it, i was onto another room. mesmerized by the furniture.

IMG_2597

like this old french iron bed that her parents’ found in Northern California. (swoooooon!)

IMG_2602

and this adorable old keyhole dresser.

IMG_2599

and oh! the details in the kids’ room!

IMG_2607

like a baby mobile made out of twigs and fabric birds that gently sways from the ceiling.

IMG_2594

and look at the artwork, my new friend made for her daughters’ room that she once again, “just quickly threw together.”

IMG_2539

and just when i thought it couldn’t get any better….

IMG_2541

we headed into the dining room and as i turned the corner i noticed….

IMG_2542

this beacon of light coming from the next room.

IMG_2561

the light was coming from a light fixture that the man of the house created (i nearly died).

IMG_2588

everything in the space is just perfect.

IMG_2574

from the antlers on the wall,

IMG_2571

to the shelves made out of wood and old thrifted belts,

IMG_2587

and a mini statue made out of old wire hangers.

IMG_2563

and, of course, another intriguing piece of art that she “quickly threw together.” (M, please throw one together for me! i love it!)

IMG_2547

as i was walking to the front door…i caught a little glimpse of her kitchen (they’re wanting to remodel it, so it’s not quite ready for its reveal). her lovely collection of pyrex was playfully calling my name. i love the pop of color it brings to their space.

i also love that i made a new friend. (and a creative one at that!)

can’t wait to hang out, M, and make something cool out of hangers or wire or something. thanks for the inspiration!

transformation thursday: man’s catch-all

my hubby recently said that our house was a little fluffy. he likes it, but it’s just fluffy.

i wasn’t sure how to de-fluff our house, so i went right out and looked for new pillows for our couch that were not fluffy, but i came home with ruffled linen pillows.

oops. de-fluffy fail.

i tried. i really did. our house was built in 1913, which i guess classifies it as a victorian (?) and so, it kinda just decorates itself.

well, yesterday i noticed that some of his non-fluffy, man stuff was starting to accumulate in places that were not its home. (do you do that, too? give things a ‘home’ and if it’s out of its home, then you find it a home? please say yes.)

i remembered that i had that old desk sitting in our garage that i found on the side of the road (those that follow my Instagram, may remember?).

IMG_1592

the desk was in really bad shape. the top of the desk had come completely loose, the bottom was falling off. plus, it looked like it had sat outside and been beaten up by the elements.

the drawers, however, were in great shape!

so, i took one of the drawers, cleaned it up and then sprayed it with some spray paint.

IMG_1602

(Rusteoleum heirloom white is one of my favorites!)

we had some scraps of wood in our garage, so my hubby cut down a few pieces and then used his nail gun to attach them to the drawer.

IMG_1598

(i decided to spray the wood pieces in this light blueish green color.)

of course, i sprayed it after it was nailed into the drawer, which got all over the heirloom white that i had sprayed. i had to go back over all of the inside and outside with more paint. i decided to use Annie Sloan Chalk Paint in ochre. then i lightly distressed the shelves. (rookie mistake)

and this is what i came up with….

IMG_1630

a man’s catch-all!

IMG_1623

i added some plaid wallpaper that i found at the thrift store and wrapping paper from TJ Maxx.

IMG_1629

now everything has a home,

IMG_1608

and my man has a spot in our otherwise, very fluffy house.

(thanks, for putting up with my fluff babe! love you. xoxo)

diy chalkboard art

chalkboards are everywhere right now. it’s definitely a hot trend and one i was glad to jump on board with!

i love the utilitarian look of them and how they can fill a room with a message.

after seeing a post on how to make one, on one of my favorite blogs (check it out, this girl has style! mysweetsavannah.blogspot.com), i decided to give it a go and make one myself.

IMG_0817

to my surprise, it was pretty easy. it took about an hour.

here’s what you’ll need…

IMG_1517
1. chalkboard (you can purchase pre-made chalkboard in the lumber section at Home Depot, and have it cut to any size. or just use a piece of mdf or any piece of wood and chalkboard spray paint by rustoleum)
2. chalk
3. chalk eraser or cloth
4. tape
5. ball point pen
6. chalk pen (optional)

IMG_1472

no. this does not mean put salad dressing all over your chalkboard. it’s to fill all of the microscopic holes with dust powder, so that when you go to erase it for the next time, it doesn’t leave the message behind. i have no idea where or when i learned that or if that is even correct. that’s just what i’ve been telling myself. In some cases (or most), your message might still be visible. oh well, i season my mine anyways, because i like the white, cloudy, used look it gives the chalkboard. (feel free to skip this step. it’s a personal preference)

IMG_1584

to season your chalkboard, use a piece of chalk on its side and rub back and forth, covering the whole surface. then wipe the chalk away with an eraser or cloth.

IMG_1484

(clearly, i forgot to take a picture of my original piece of paper. oops.)

there are many printable quotes on the internet. Pinterest is a great source. i found mine on the blog: mysweetsavannah.blogspot.com. or you can create your own with a program like Microsoft word, or any word processor.

once you’ve decided on the best quote, print it out on regular 8×10 computer paper.

IMG_1485

i took my quote to Kinko’s and asked for a ‘drafting copy.’ you could also take it to Staples, Office Depot, any place that has a big copy machine. pretty much just ask them to enlarge it to the size you would like. it might be the easiest to measure the size of the chalkboard and give the salesperson those measurements and they can enlarge it to that size.

IMG_1486

using the chalk on it’s side (just like when we were seasoning the chalkboard) rub chalk all over the back of the paper. you won’t be able to see the chalk, but just keep rubbing and make sure to cover all of the letters.

IMG_1488

after you’ve rubbed chalk all over the back side of the paper, flip your quote over and tape it to the chalkboard, quote side up.

IMG_1491

(side note: do you notice the cute lil’ footprint in the middle? my son managed to photobomb this pic!)

take a ball point pen and trace the letters of the quote. making sure to press down firmly. this step will transfer the quote to the chalkboard.

IMG_1493

peel back the paper a little, to make sure the quote transferred. it will be faint, but still visible.

IMG_1504

after all of the quote has been transferred, use a piece of chalk or a chalk pen and trace the quote on the chalkboard (jonesdesigncompany.com has a great post on different types of chalk!).

and viola’! you’re done and you have a great piece of chalkboard art to display in your home, or give as a gift, or for a party.

clearly, the uses are endless.

IMG_0817

have fun!

come have some coffee with me tomorrow morning as i tour another cute little old house in old towne orange for house tour tuesday!