house tour tuesday: the big yellow (part 1)

i know some of you have been waiting for this one for awhile.

IMG_1459

i posted some teasers on my instagram, months ago. well, it’s finally ready for its reveal. it’s not 100% done, but it’s almost there and i have been eager to show you all!

IMG_3068

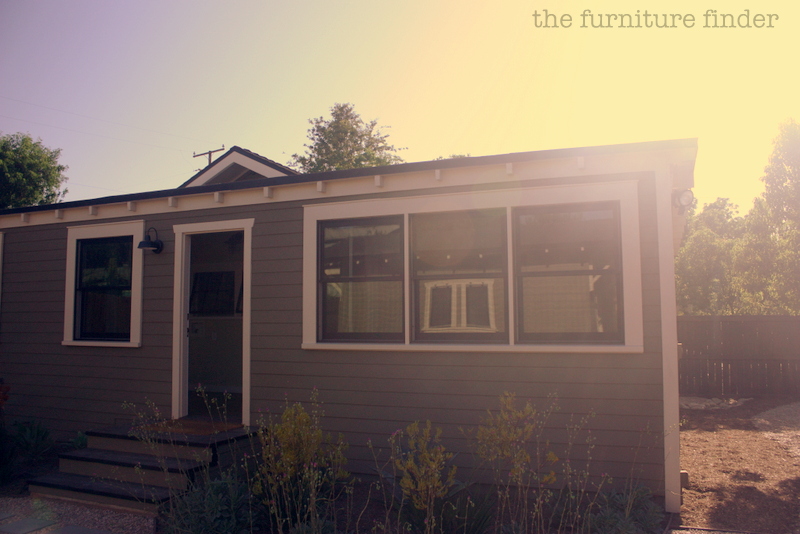
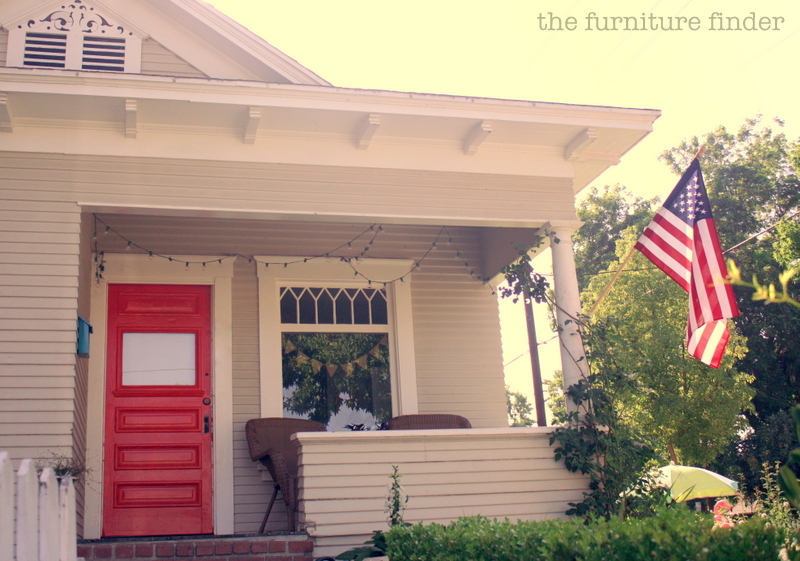
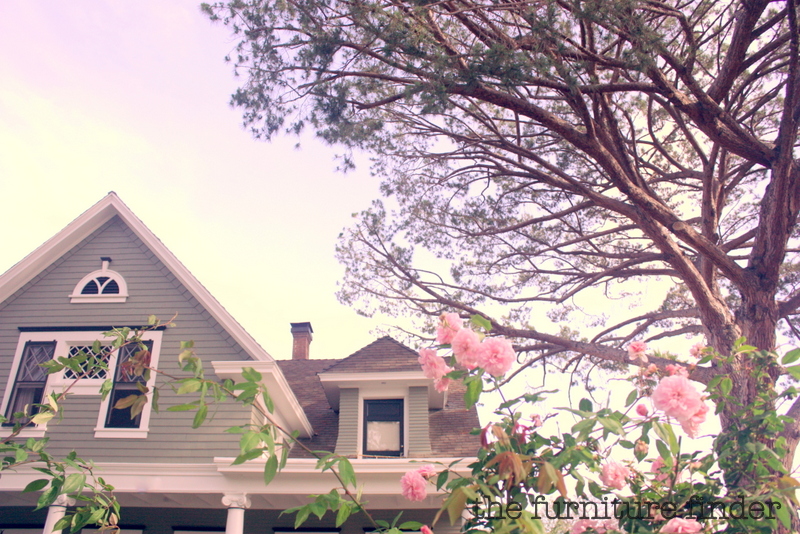
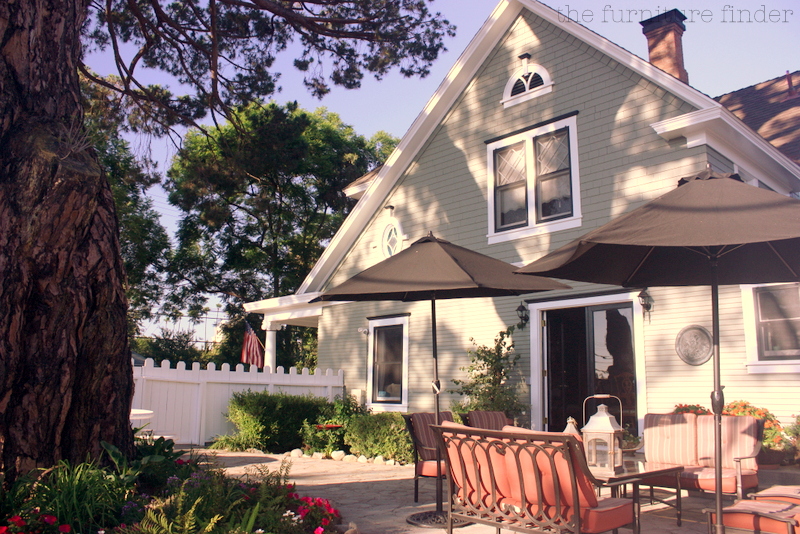
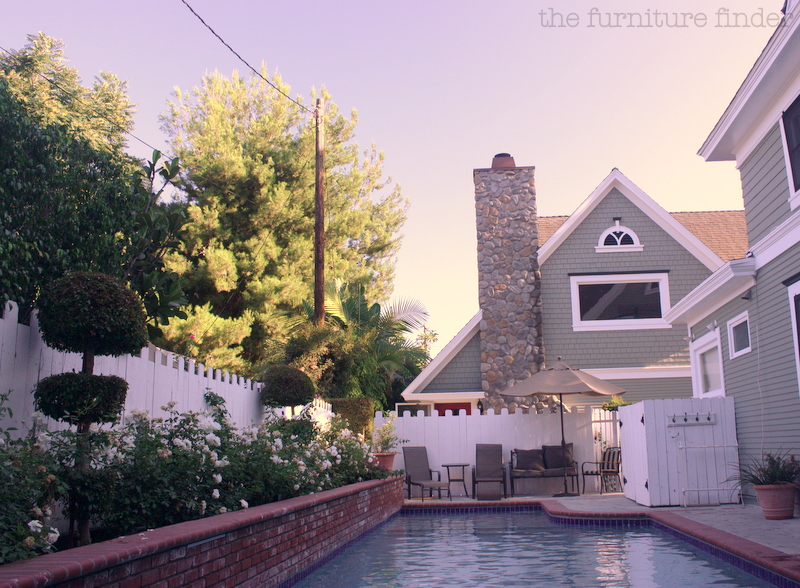
now some of you might be wondering why i titled this post: the big yellow, considering the house is clearly green. see, this home has been known for being “the big yellow house on the corner” for as long as i can remember and even longer for the older generations in the neighborhood.

IMG_3065

but, the home had been neglected and rented out for quite a few years. it wasn’t until about a year ago, that the house changed ownership.

IMG_3063

almost immediately, the new homeowners started to pour love into this house and bring it back to what it once was (probably even better!).

IMG_3059

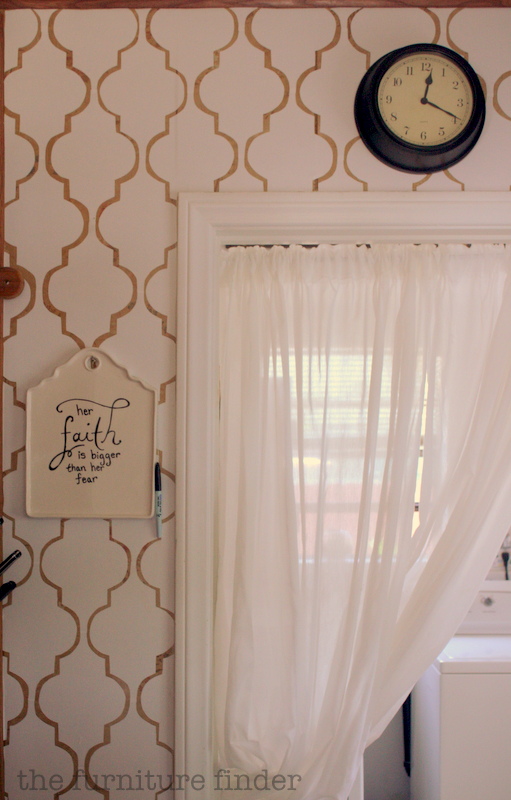
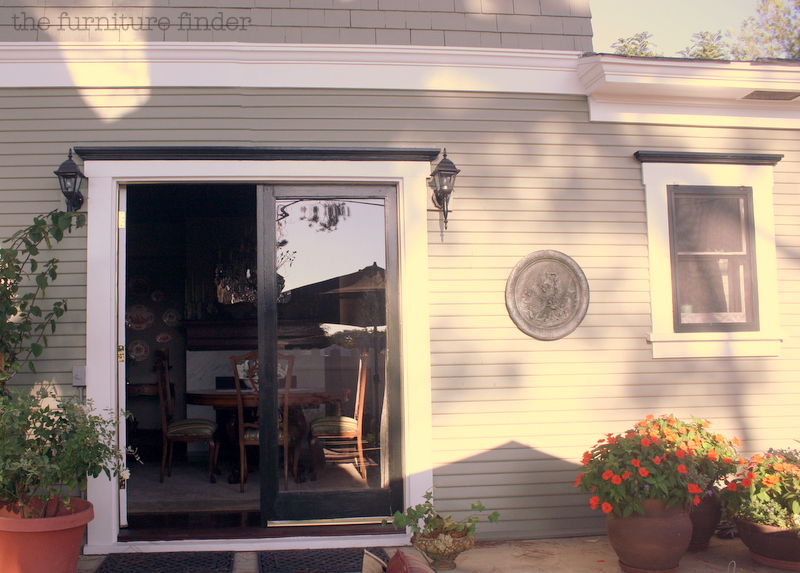
the whole house inside and out, has been carefully restored. there is so much detail that i captured nearly 250 pictures during the photo shoot!

IMG_3078

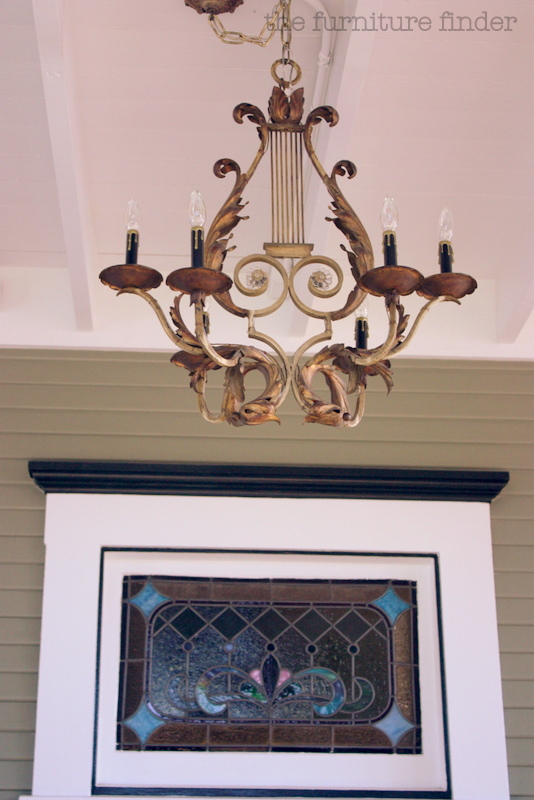
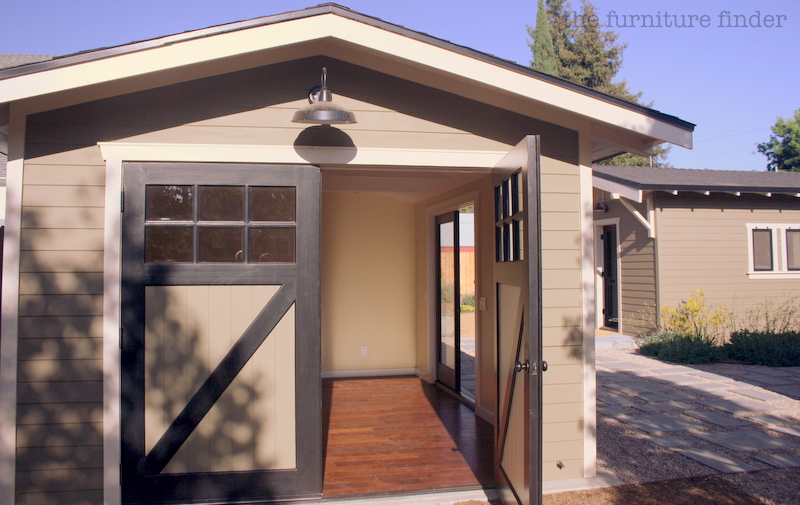
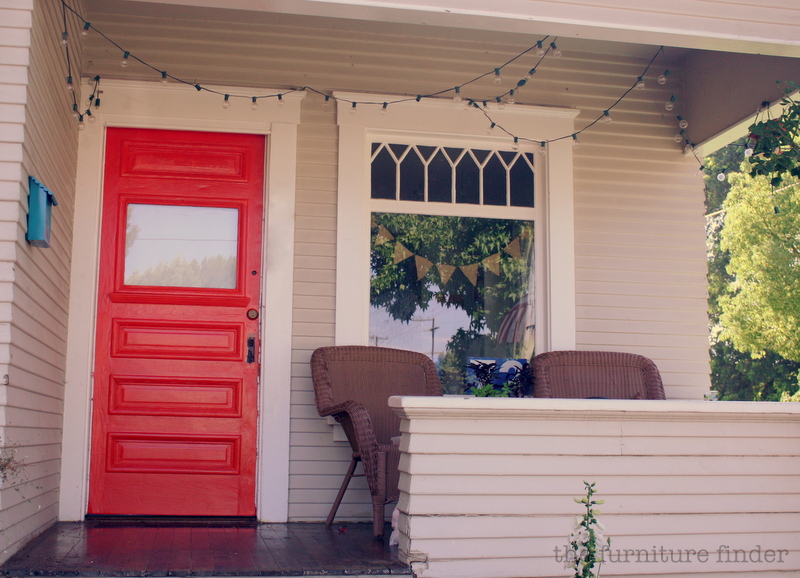
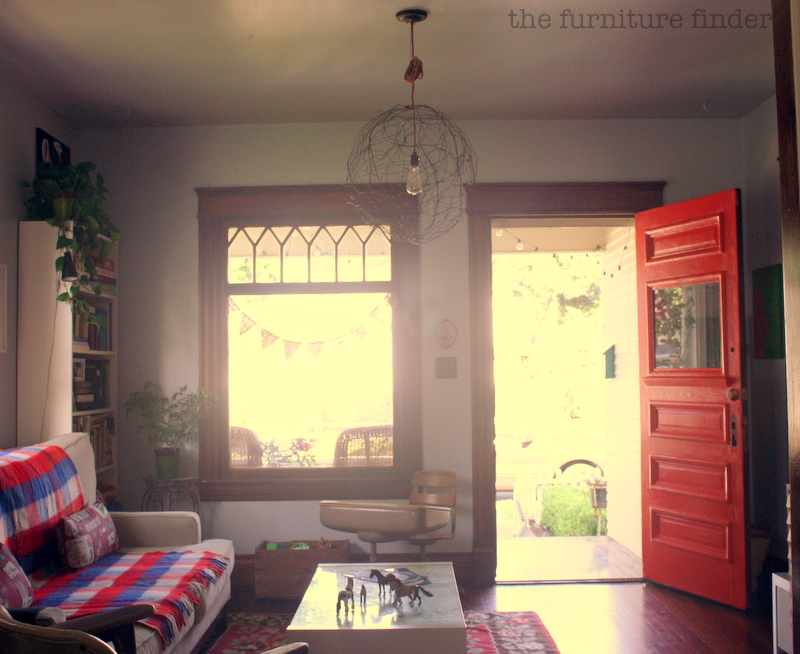
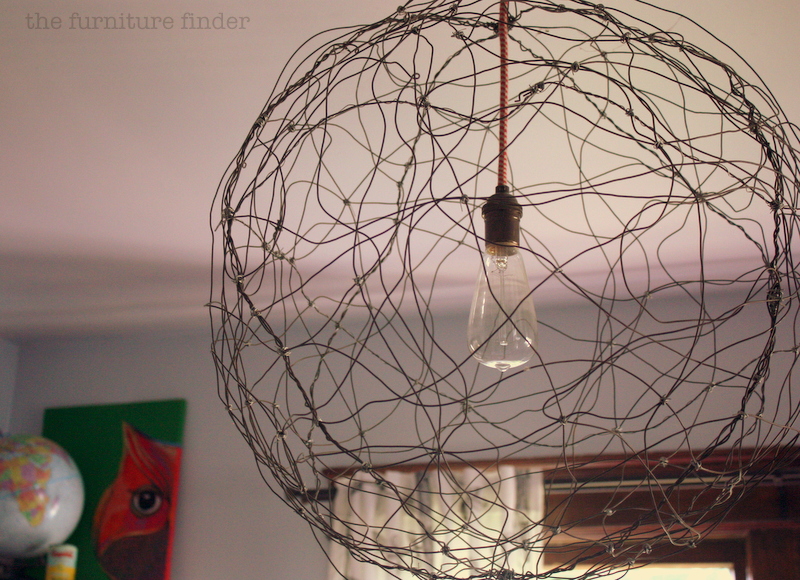
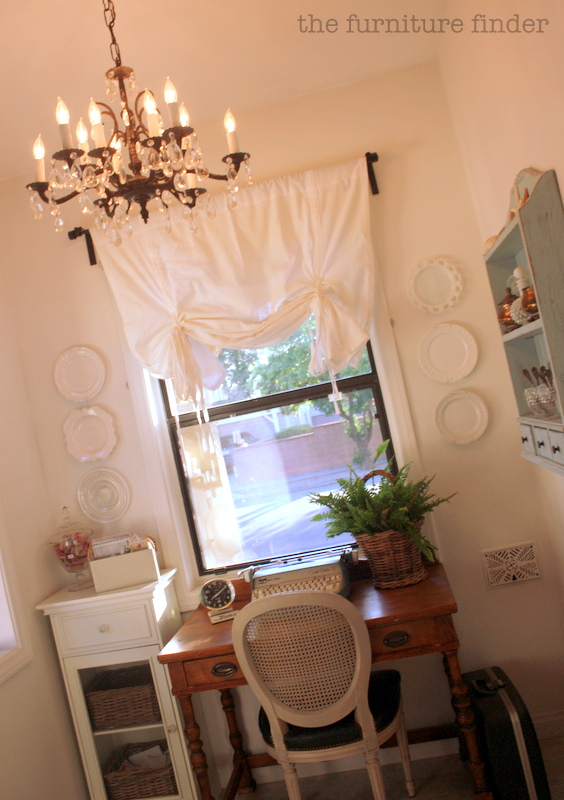
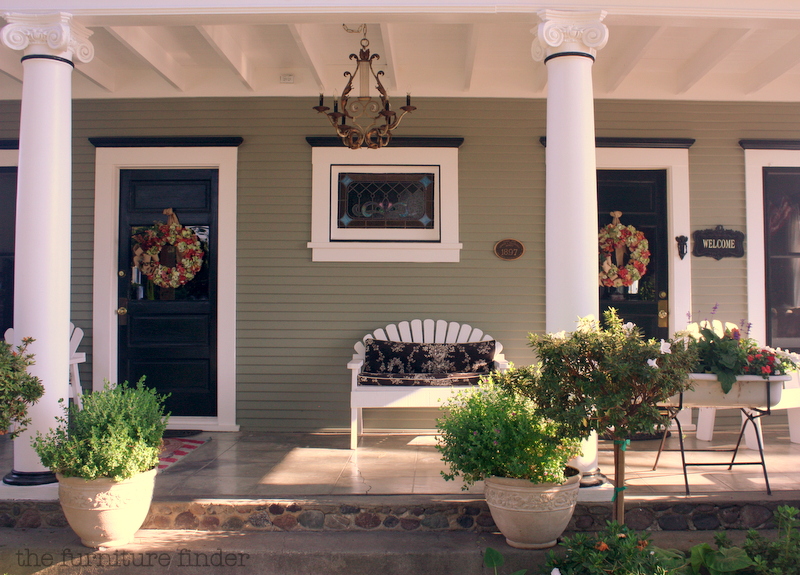
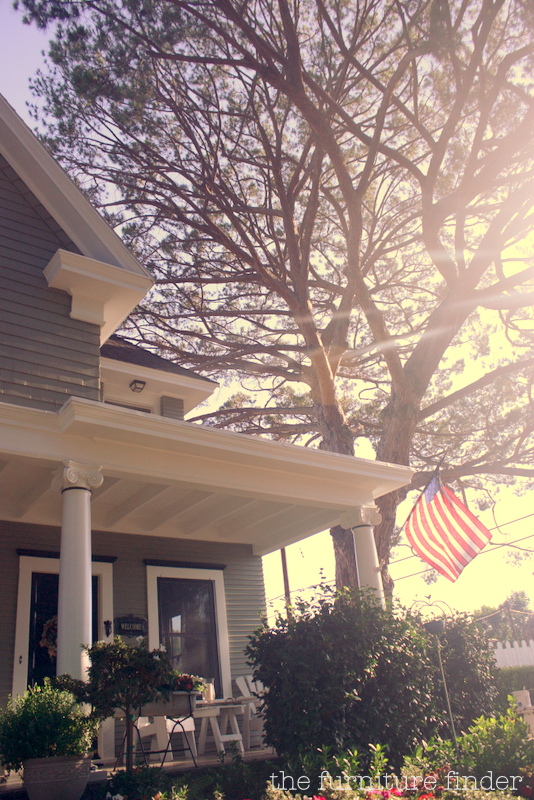
a beautiful vintage chandelier was added to the front porch.

IMG_3130

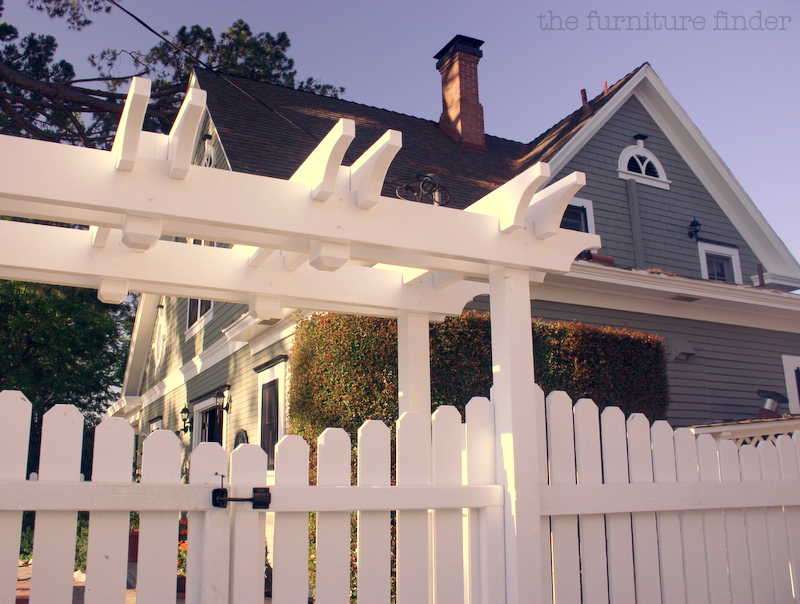
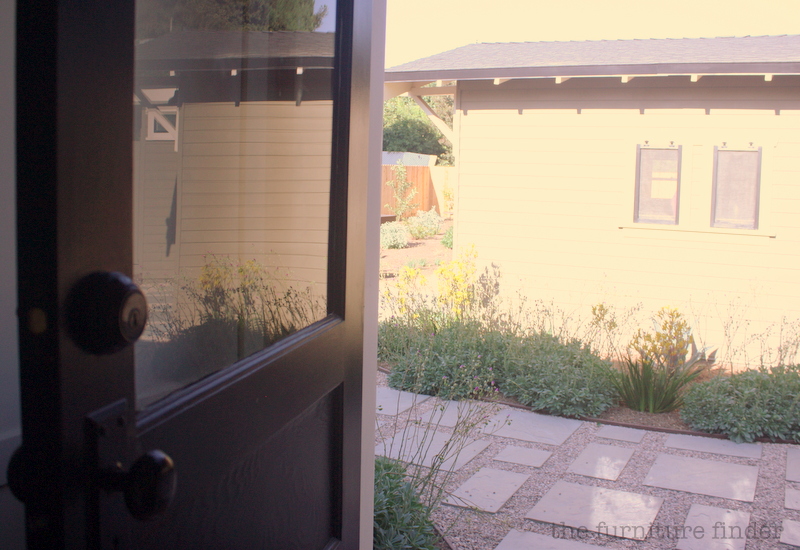
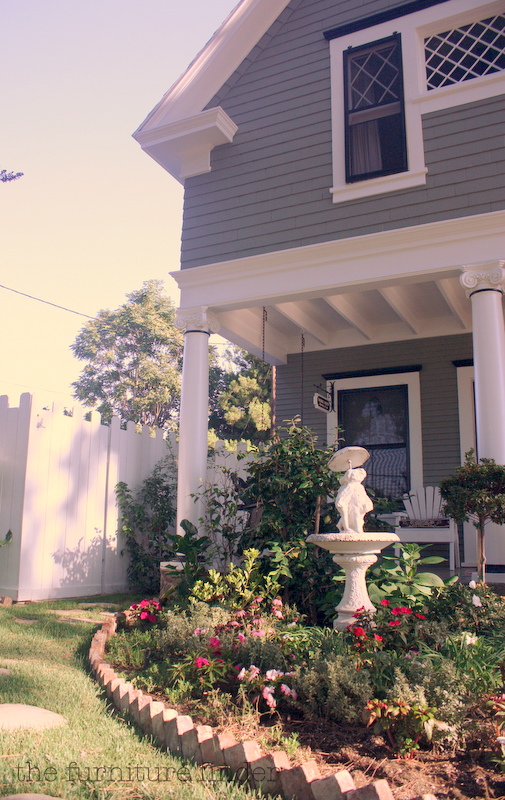
and a new bright white fence was added around the property.

IMG_3101

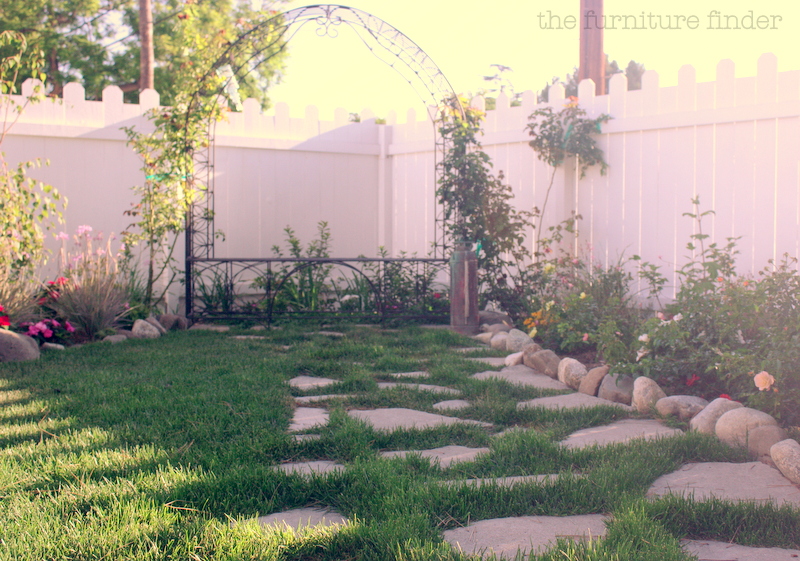
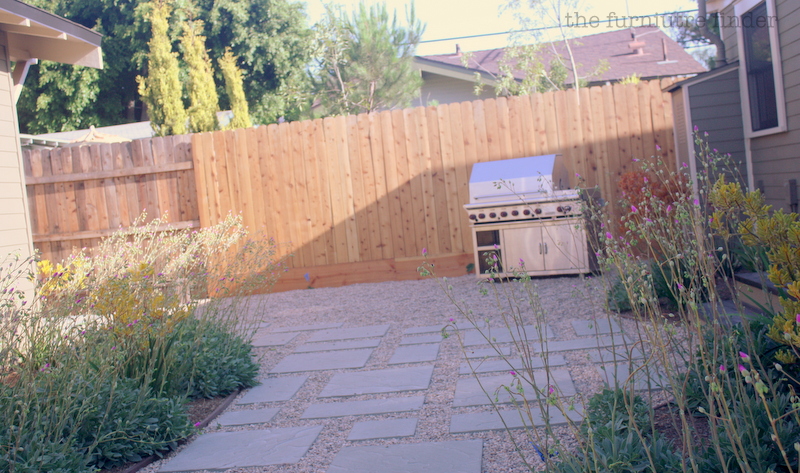
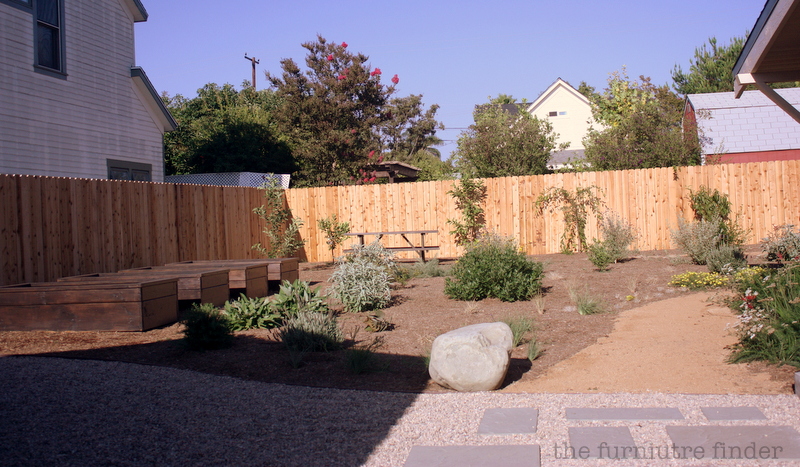
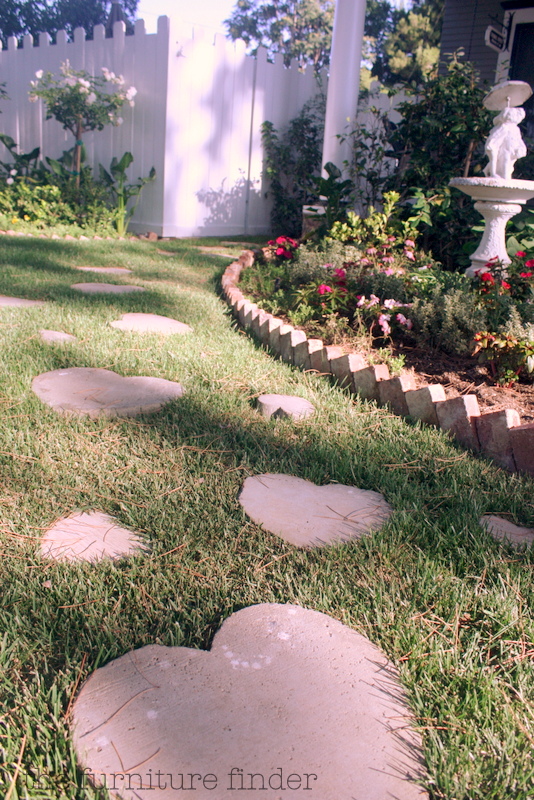
the landscape was refreshed.

IMG_3129

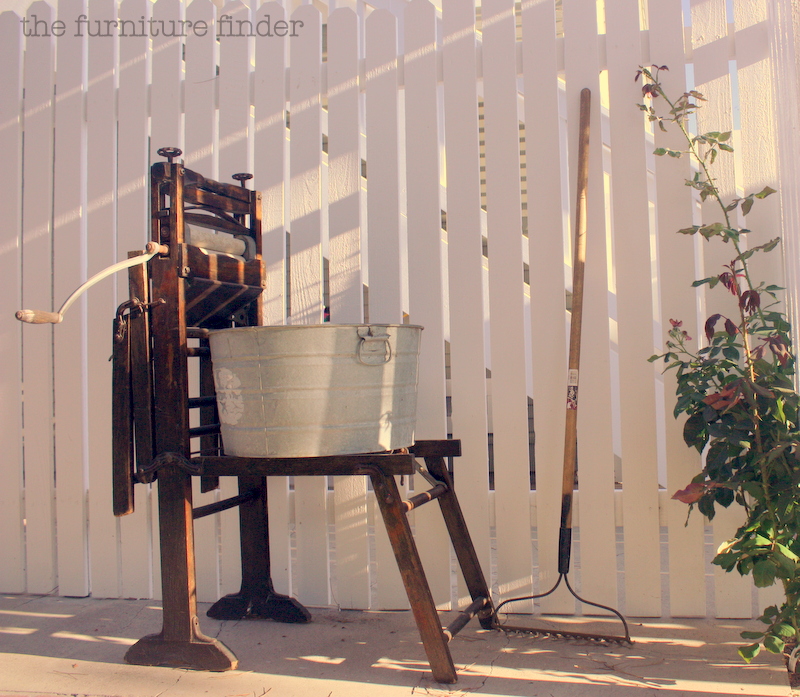
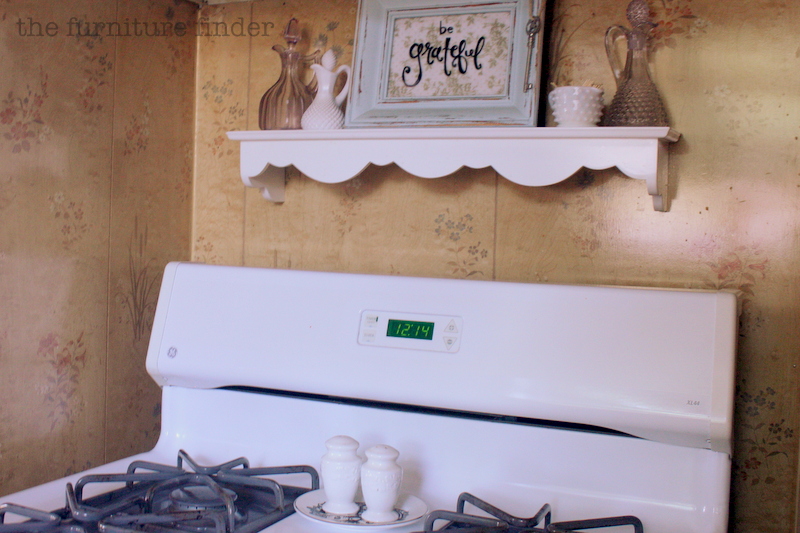
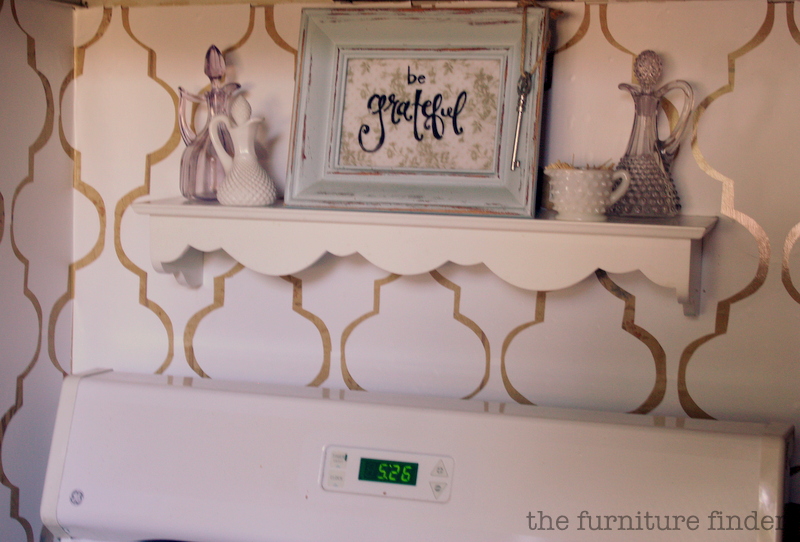
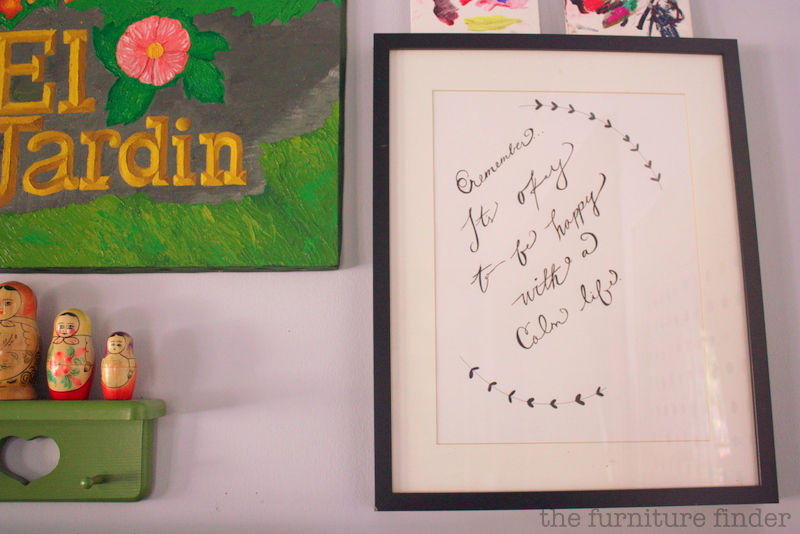
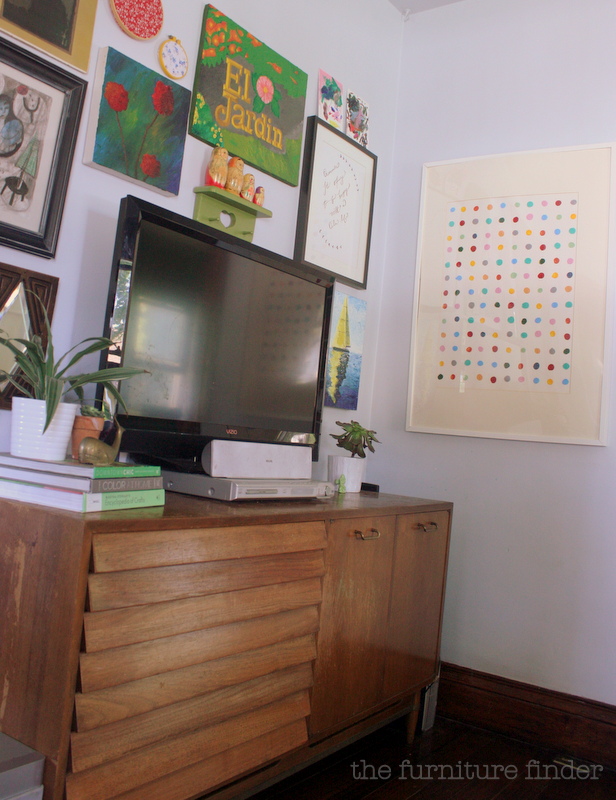
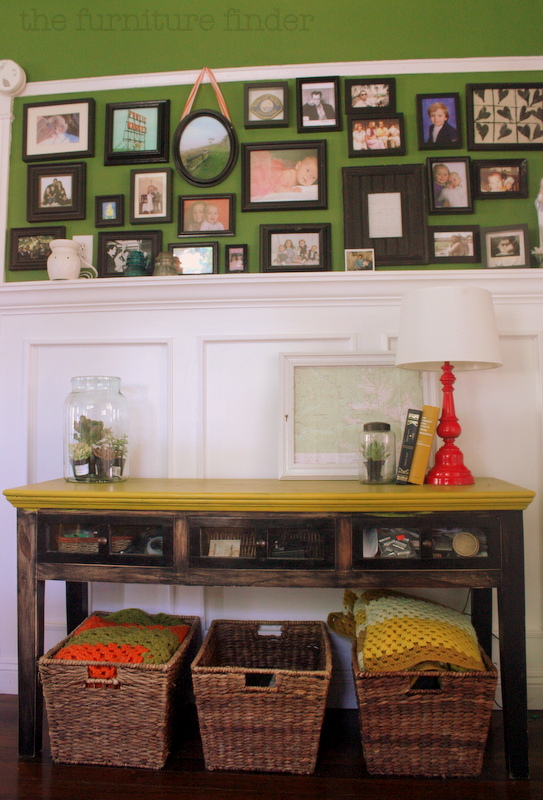
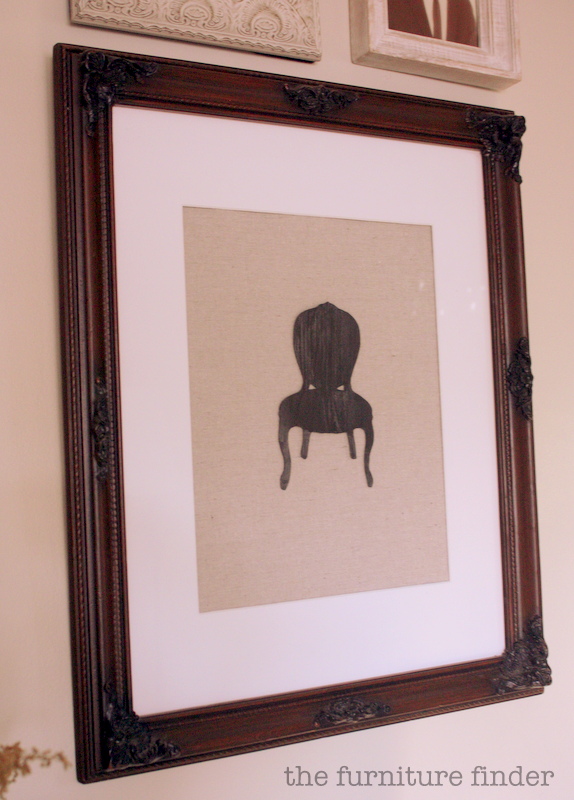
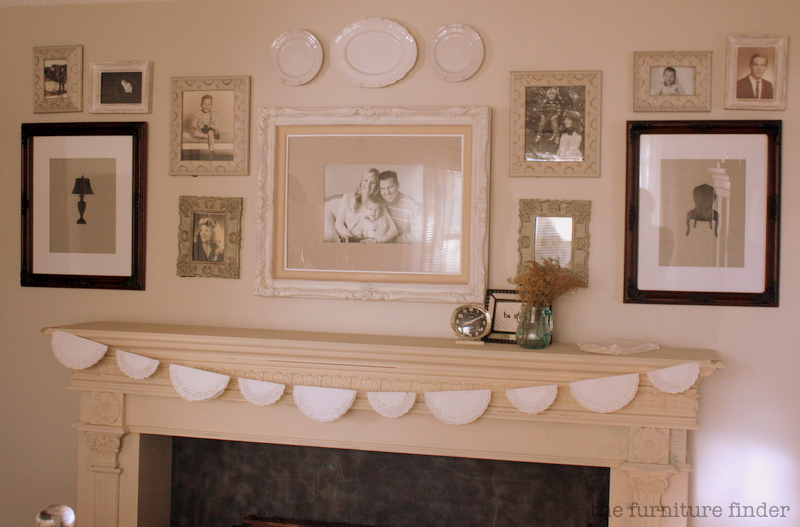
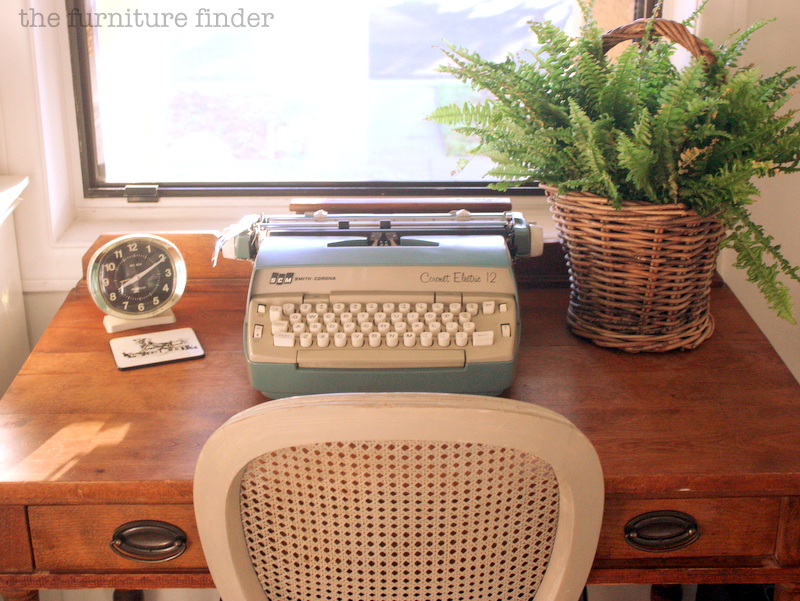
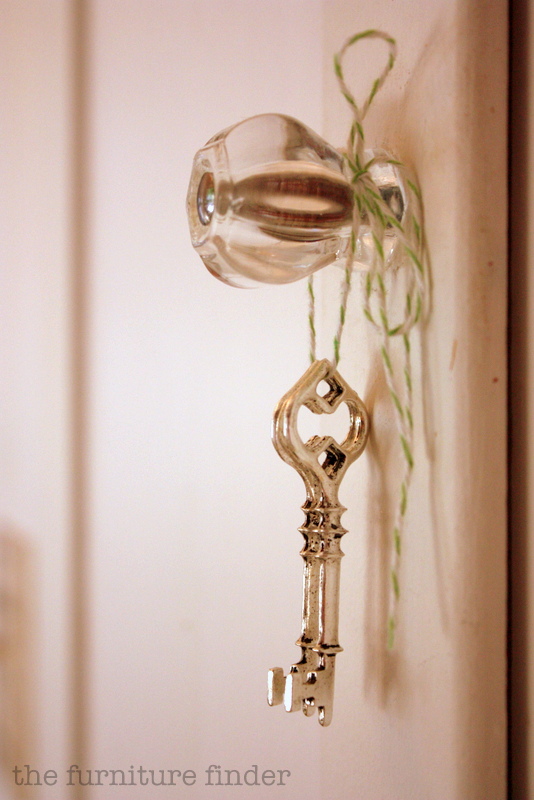
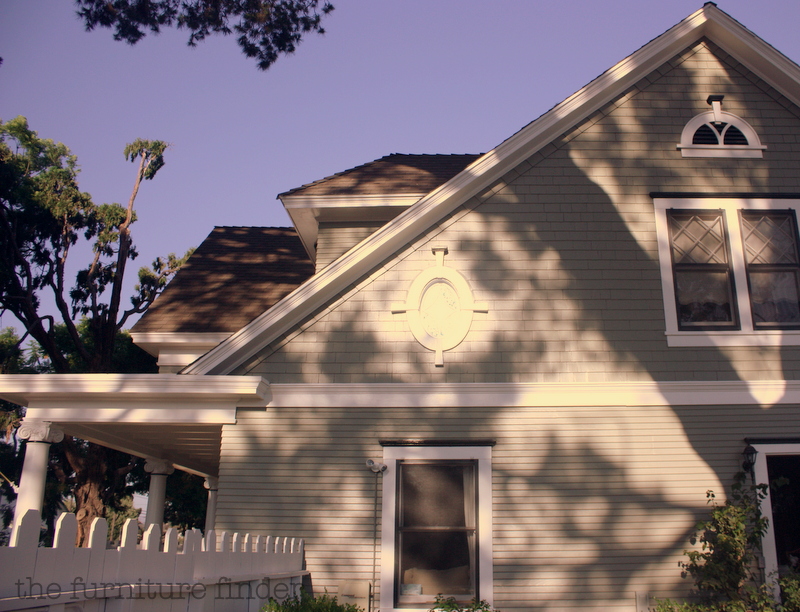
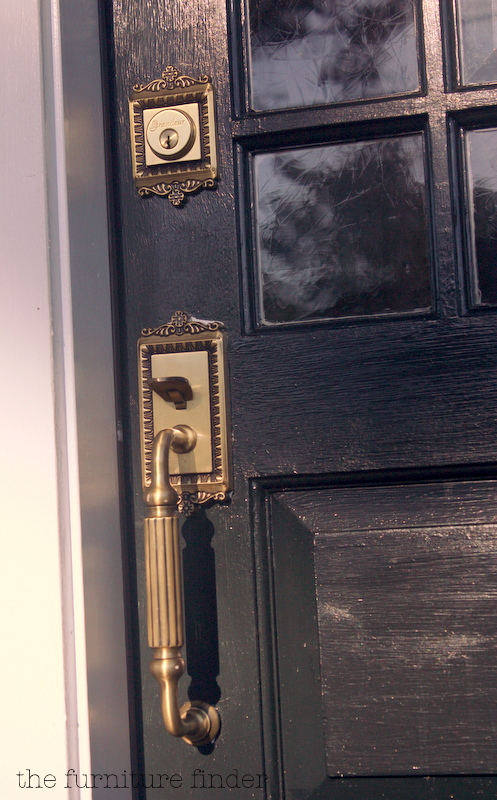
and vintage details were added to give it character and a bring it back to its roots.

IMG_3103

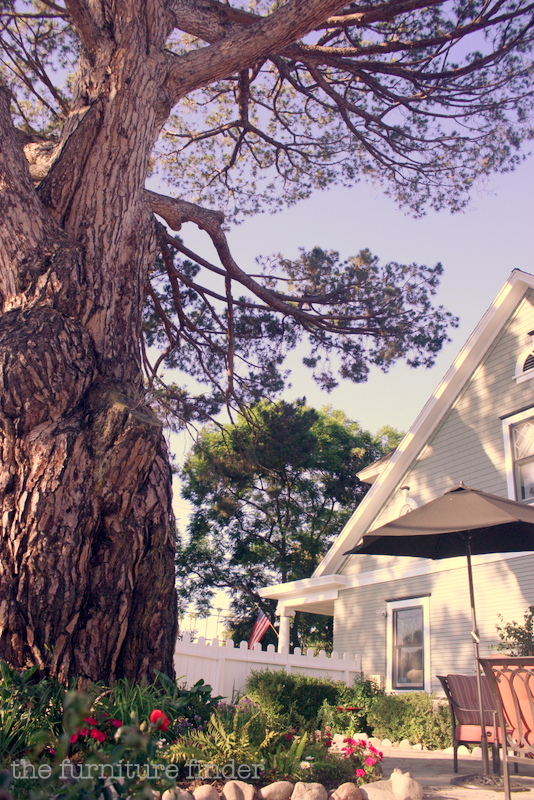
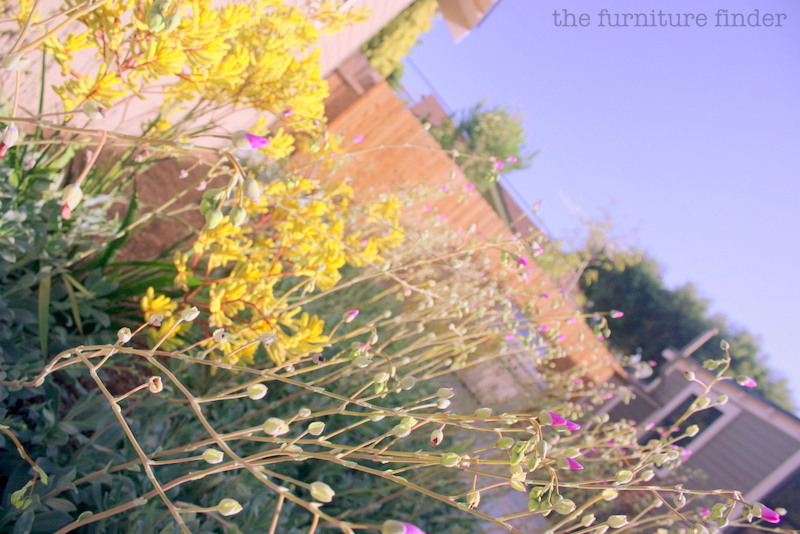
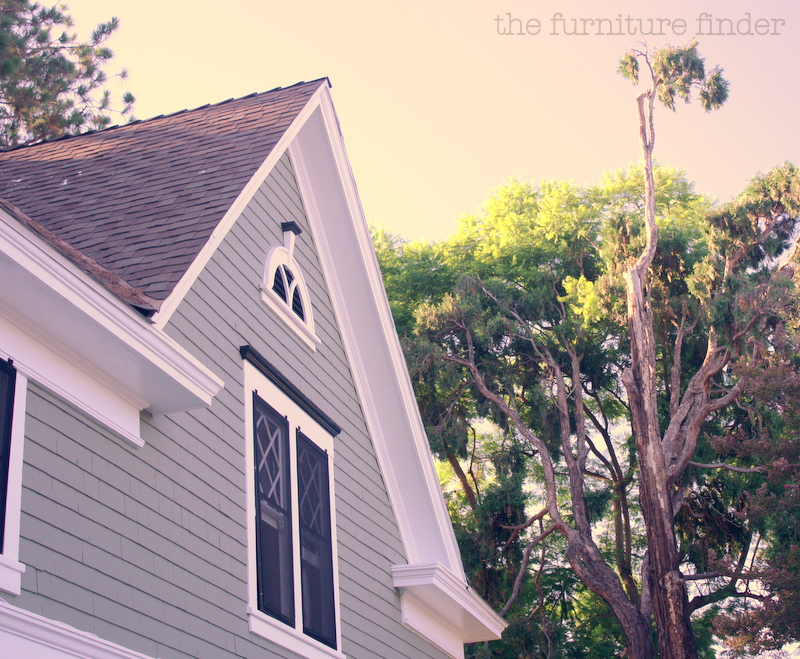
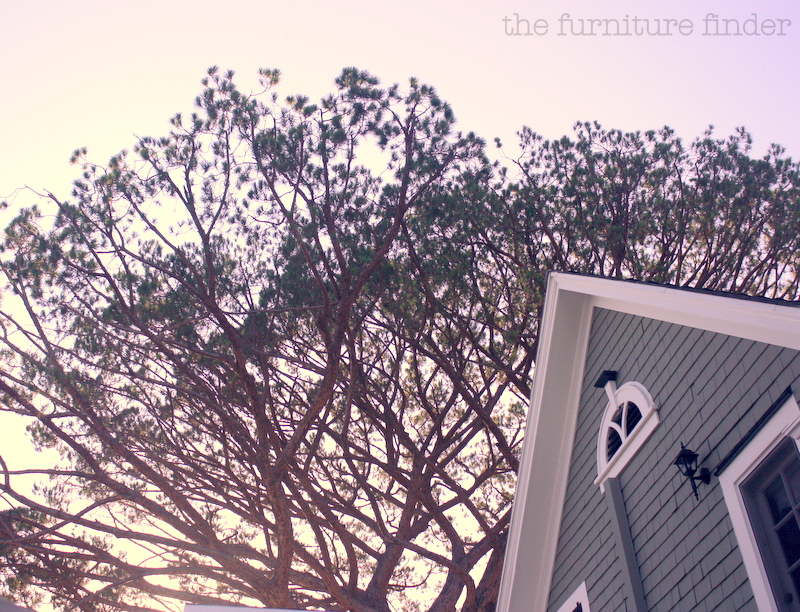
the 100 year old tree was trimmed and flowers were added around its base.

IMG_3117

and though some things have changed, there are a few things that still look the same…

IMG_3108

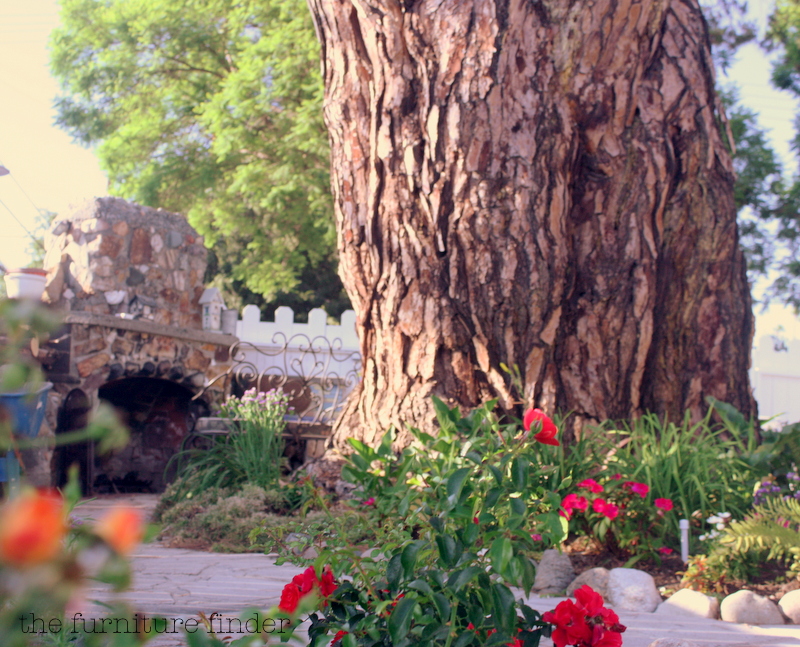
the outdoor fireplace is one.

IMG_3124

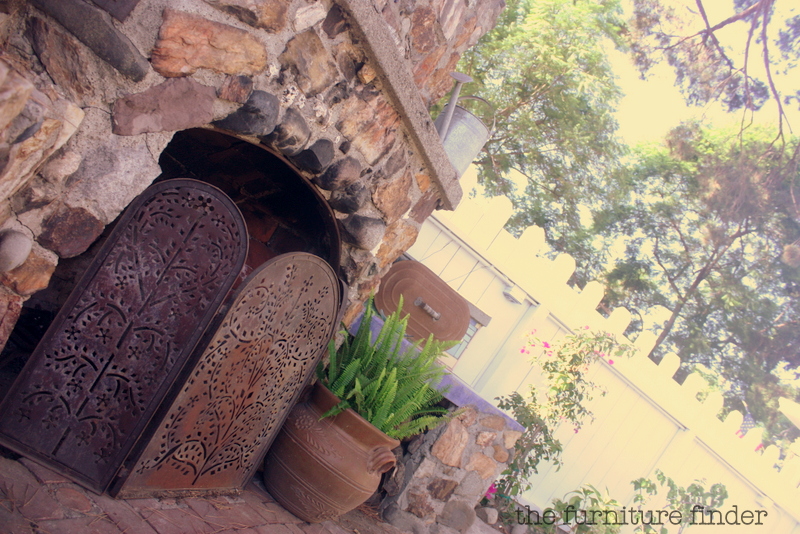
but, maybe with a few added vintage details.

IMG_3091

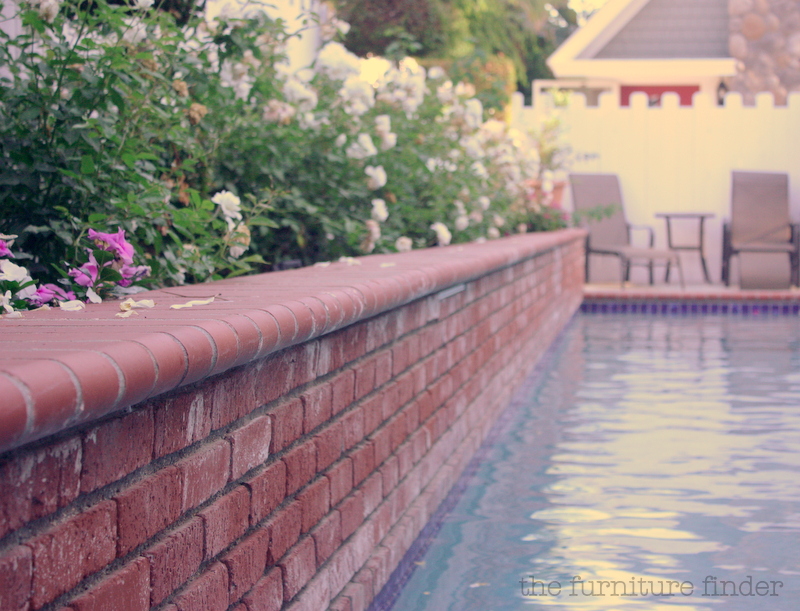
the second area is the pool.

IMG_3086
of course, it got a good scrubbing and might also have changed colors (back to blue instead of green, maybe? no, i don’t think it was that bad when the new homeowners bought it). 😉

IMG_3092

so, you see, change can be good.

IMG_3128

and though a color might change or it might be called a new name, it doesn’t mean the history is different.

IMG_3094

it’s just going to take a little getting used to when we say, “the big green” instead of, “the big yellow.”

IMG_3069

or maybe we’ll give it a new nickname and call it, “the one with the really big tree.” (no? too long?)

IMG_3100

the house with the big tree, the yellow house, the green house, whatever you want to call it….i’m just happy to see this house get loved so much. it’s fun to live next door and admire its beauty and watch it sparkle once again.

IMG_3112

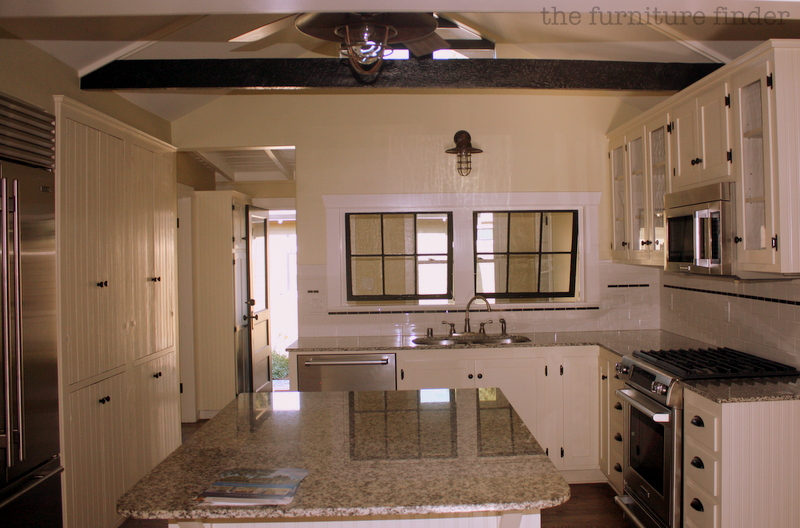
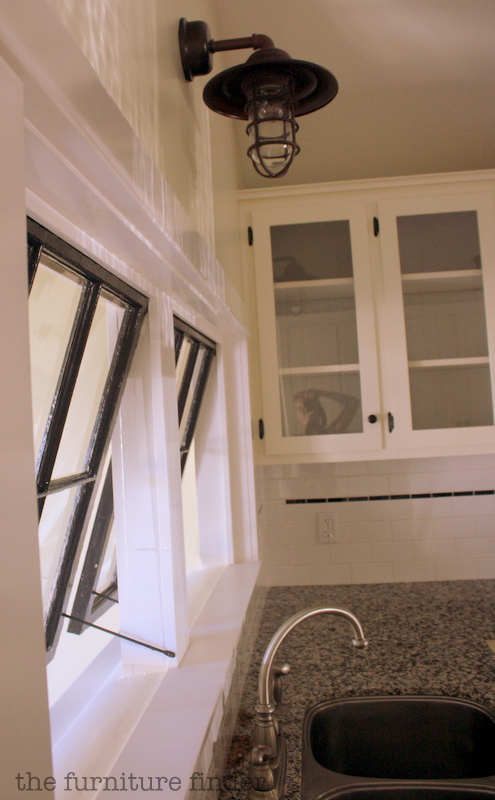
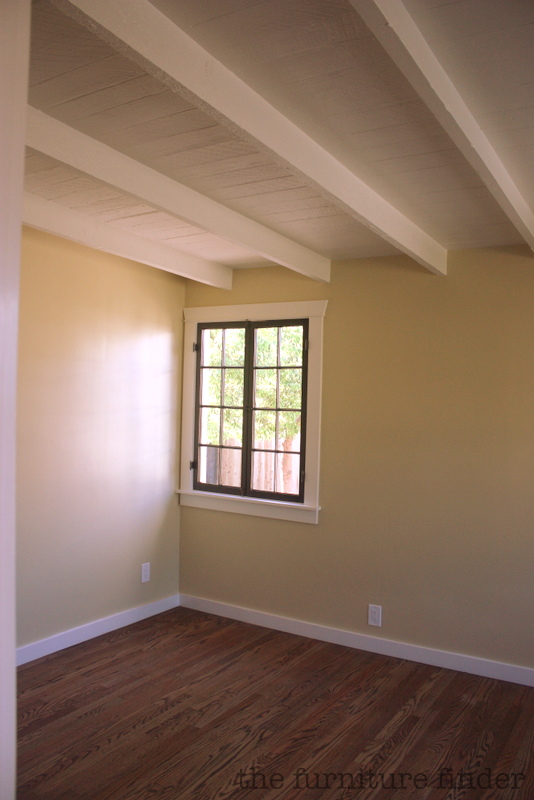
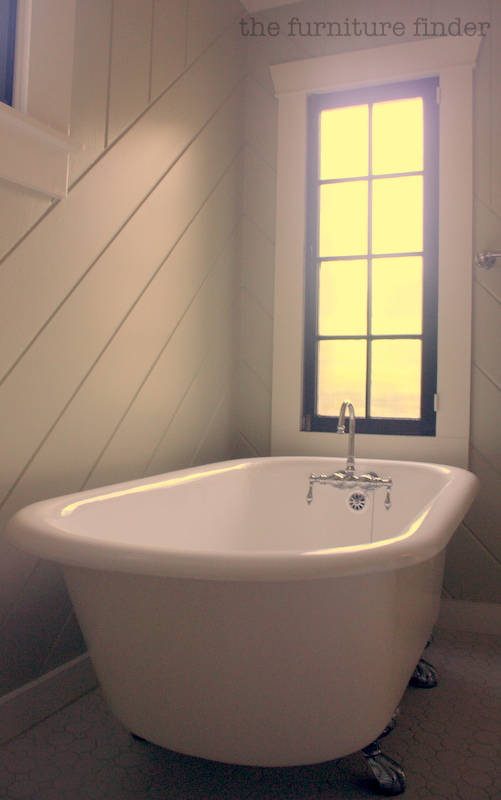
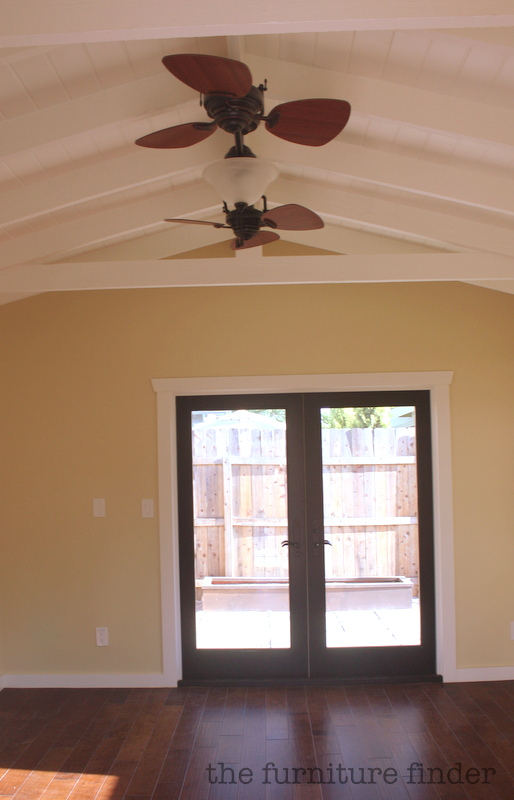
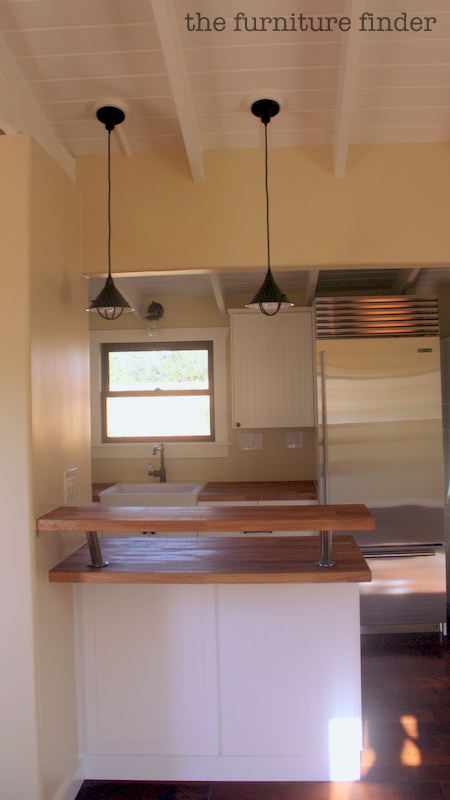
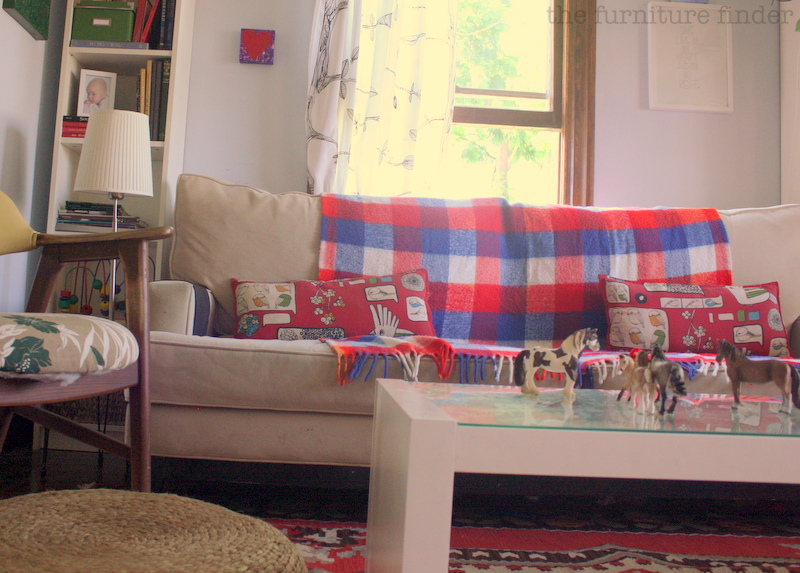
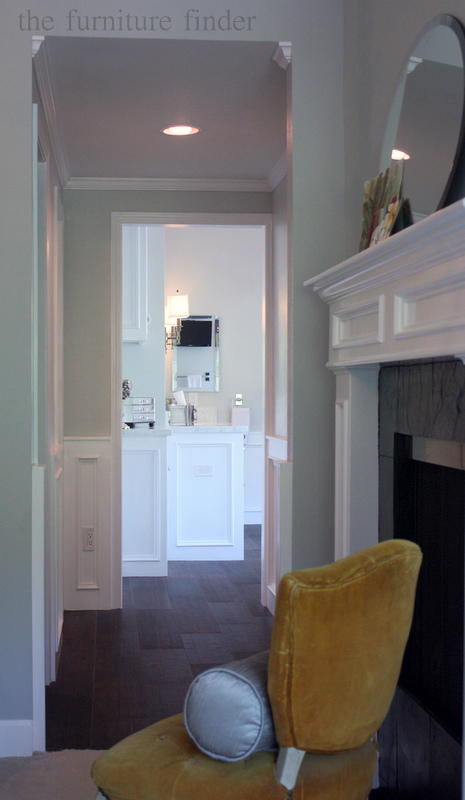
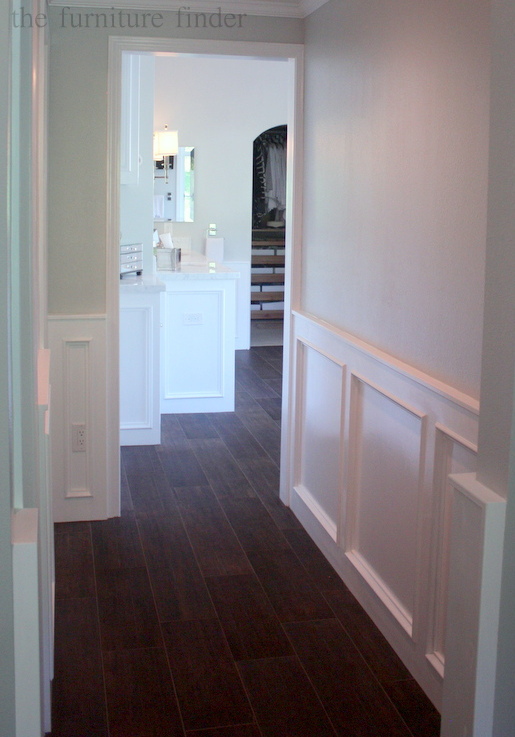
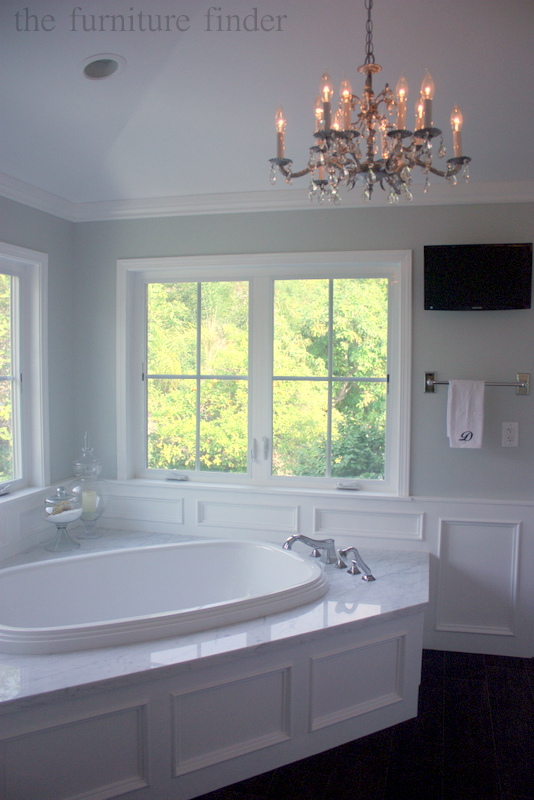
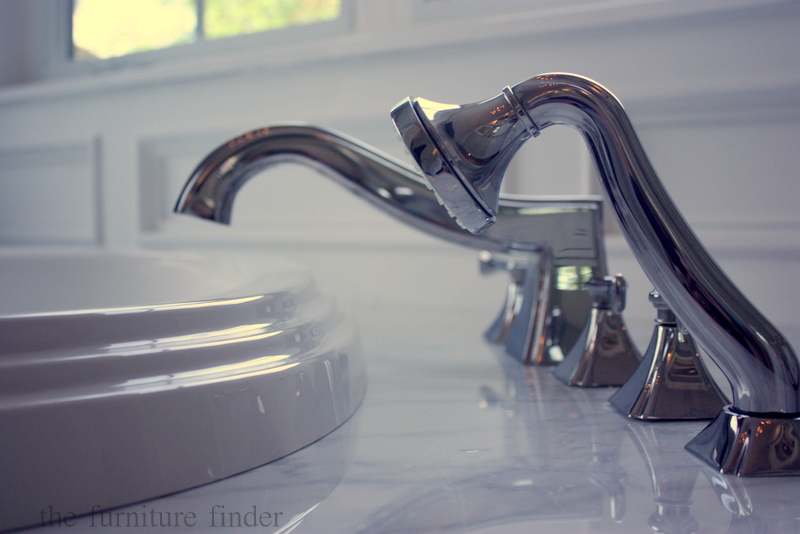
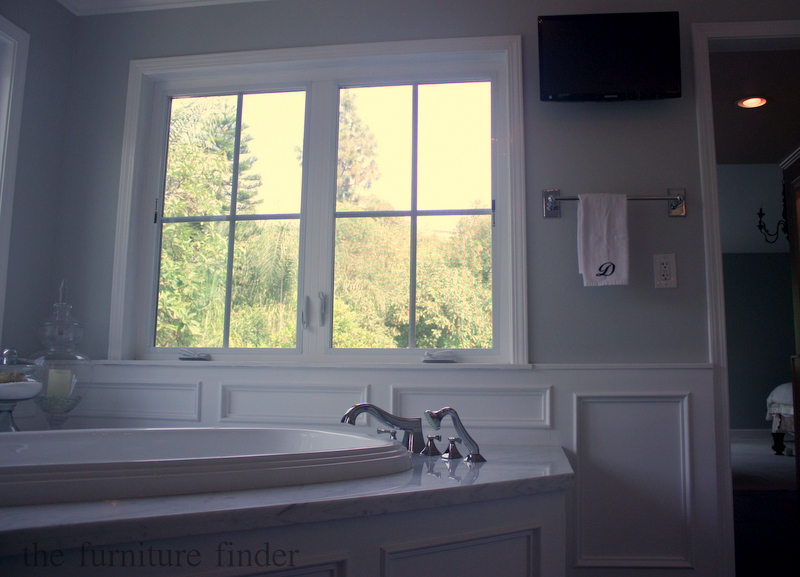
and if you think the outside is good, come on back next week for a peak inside! i think i did the awkward stand-and-stare-and-take-it-all-in for a good solid ten minutes the first time i saw it all done.

it’s gonna blow your mind.

have a good week, friends!

xo

as is

do you ever feel like you’re running around like a crazy person?

like you’re not sure where the last fifteen hours went since you woke up this morning?

i hope i’m not alone, because i do. all.the.time.

this past spring i was having a hard time. with life. with juggling and balancing being a mom, a wife, a working woman.

it wasn’t easy. i was over scheduled, underpaid (or not paid at all….since being a mom is a thankless job), burned out and struggling with the fear of what the future held.

IMG_2876

all i wanted to do was sleep. or go be a teenager again and hop in the car to the beach. or read a book in a hammock. or pee by myself for two full minutes (i’d even take 45 seconds).

but instead the responsibility of being an adult loomed in my view. my view usually being the sink full of dishes with crusty day old oatmeal stuck to the side because i was too lazy to rinse the food off from the morning before. *sigh*

the topper was one day when a friend pointed out that i was late, again, to something we had planned. *double sigh*

IMG_2829

i felt broken. like i was running a marathon and had gotten to the dixie cup water hand-out, only to find out that they had run out of dixie cups. and water.

bum.

another friend came up and noticed i was broken. this friend had lived a few more years than me, so she was well trained in the hills and valleys of life. she offered a great story about how she struggled the same way when she was a young mom. she said she struggled with being late, with over committing herself, with stretching herself thin. and she had a friend that did something pretty amazing…her friend made her a cute little pin (this was the 80’s) and on that pin it said, “as is.” her friend explained to her that she was perfect just the way she was. that God had made her perfectly in His image, exactly how He had intended.

IMG_2854

oh, how i needed to hear those words.

it might not be the 80’s and i might not have a pin to wear, but i do have a great necklace that an Instagram friend made for me and i love its message and what it reminds me: that i am perfectly made in God’s image.

IMG_2853

i come as-is.

and so do you.

if you feel worn out and not quite like you have it all together at times, you’re in good company. or maybe life is going pretty good and you just need a reminder that you can’t do it all (no one can). i need that reminder, too. life can be  hard, overwhelming, exhausting, busy {insert your own adjective here}. i encourage you to lean on the one that has helped me through many valleys in my life; God. i am a huge believer in the power of prayer. he has softened my heart, redirected me, and encouraged me when i’ve needed it the most. he has been my leader when i felt like i couldn’t run the race any longer.

i am thankful for that, i am thankful for Him, and i am thankful that he made each of us just as we are, perfectly in His image.

transformation thursday: diy cork board & recovered trunk

remember this beauty?

IMG_1504

it now looks like this…

IMG_2895

a good friend of mine just got married this last weekend and i got to transform this beauty into a cork board for their seating chart. the wedding was at a beautiful location in the hills of Brea, California. the decor was based around a classic vintage theme (think 1920’s glamour), so this frame fit perfect. i wish i had more pictures from the wedding and the after picture of the seating chart, but my camera died (bum!).

i now get the pleasure of using it as a jewelry cork board.

and incase, you are interested in making one of your own, here’s a supplies list that you’ll need:

IMG_2759

1. cork
2. scissors
3. frog tape (to secure the cork board to the existing chalkboard. you could also glue it down, but i like the option of being able to convert it back to a chalkboard, if i change my mind. which, will probably happen because, well, that’s what i do). 😉
4. staple gun
5. fabric

directions: since i don’t have step-by-step instructions (diy fail) I’ll do my best to walk ya through it. just take the existing chalkboard, cut the cork to the size of the chalkboard, tape the cork to the board around the edges, lay the board flat on top of the fabric and pull the fabric tight as you staple gun it around the back, then pop it into your frame. you’re done. i think if i were to do it again, i might add two layers of cork to have a deeper cushion to push pins into. instead, i just pushed the pins down into the cork, not straight back (hopefully, that makes sense?).

another little fun re-do i got to do for the wedding was my old trunk (actually, it’s my husband’s from his childhood, but what’s that old saying….what’s yours is mine, what’s mine is mine?). 😉

here’s the before (with a little frog tape because i am an impatient diyer):

IMG_2764

it was a little rough inside. i liked it, but it was way more rustic then what they were going for at the wedding. so, the beautiful bride and i got to go shopping for fabric and we found this gorgeous deep blue velvet (the couple’s colors for the wedding were colbalt blue with touches of gold…let me tell you, i was in Heaven because those are my favorite!). then i just used frog tape to put on top of the old paper inside and used a hot glue gun to attach the fabric into place.

and now the after:

IMG_2882

the mr&mrs. used it on the welcoming table to collect gifts and cards as guests arrived.

i looooove it! it was a little more time consuming than i had thought, but well worth it! i had originally thought i would take the velvet off after the wedding was done, but i like it so much i think i’ll keep it on! in fact, a funny story (or funny to us) about this trunk is that the bride’s brother (who i grew up across the street from) came up to me and said, “i like your chest.” um. thanks? he was quite embarrassed when his wife informed him that it was called a, “trunk.” HA! it became a good laugh for the rest of the evening and we might still be laughing about it. it’s okay, M, i like my chest, too! 😉

hope you all had a fabulous thursday!

house tour tuesday: The Island Hotel and some thrifty finds

hi all!

this has been a busy summer. i feel like june started and we hit the ground running. so, to add a little fun to the busy, my family and i decided to take a little mini vacation to Palm Springs. we swam, ate, slept, and then did that all over again, not necessarily in that order. i took a little time off from crafting and making things to just focus on my family.

at the tail end of our vacation, the hubbs and i dropped off our boy with the grandparents and went on a little mini staycation for just us. we swam, ate, and slept (a lot). it was glorious!

so, due to our recent vacation, i don’t have a regular house tour tuesday post, but i do want to tell you about the hotel we stayed in. it’s called, The Island Hotel. it was clean, the staff was very hospitable, and the decor was pretty (this last one, of course made me happy) 😉

IMG_2727

and after getting home and uploading all of my photos, i realized that this was the only one that turned out and was not a blurry-look-like-i’m-trying-to-have-a-3D-post, so here ya go. i might be slightly obsessed with the headboard and adding it to my list of diy projects. 😉

the hotel also has a pretty amazing pool with a fireplace that was fun to sit by at night and talk and cuddle. so, if you’re looking for an affordable, nice hotel in Orange County near the beach, but don’t want to pay the high price tag for some of those other luxury hotels, i highly recommend it. we shopped around, and i’m so glad we did. i love a good deal!

speaking of deals….as i was getting dressed to go to lunch, i had to chuckle at the outfits i had packed. most were thrifty finds. i don’t usually shop for clothes when i go thrifting (i enjoy hunting for furniture more), but occasionally something will catch my eye while i’m standing in the checkout line.

here’s outfit #1: thrifted $6 dress, that i paired with a belt I already owned.

IMG_2745

and outfit #2: thrifted $4 swimsuit cover-up for when we went to the pool.

IMG_2748

just ignore all of the wrinkles (oops)….who has time for ironing on vacation?! not this lady. 😉

i love a good vacation, mini or not (they don’t happen often), but it’s nice to get back to reality. i have some fun diy projects i’ll be sharing later this week.

have a good one friends!

house tour tuesday: the old new house

last week i got to dream a little. it was actually perfect timing because we recently sold our first home (not the home we are living in now, but our first home that we purchased together a few years ago).

it was a little bittersweet.

we had dreamed of owning our own place, whether it be a fixer upper or not. when we finally got it, my husband and i put our heart and soul into that little home. we did almost all the work ourselves, minus the hardwood floors. it was a wreck when we first purchased it as a foreclosure property. we worked night and day for three weeks straight and had it like shiny new before we moved in. fast forward five years and a kid later, and we had outgrown the little one bedroom condo.

this is how we made it to Old Towne Orange. besides being my hometown, it was also a dream of mine to live in the historic section of the city. a friend of ours (who also happens to be our real estate agent) mentioned that there was a little house for rent next door to where she was living, so we high tailed it over to the property to check it out

it was adorable. small and quaint and old. all of my favorites. it even had cute little original door knobs and old hardwood floors. but you see, after living in this adorable, small, quaint, old house for the last couple of years, i have learned that living in an old house comes with some sacrifice. no air conditioning, no dishwasher, small rooms, and even smaller closets.

this brings me to my dilemma. i love old houses and all of their quaintness, but i also love new houses and all of their squeaky, clean surfaces.

sometimes (or almost every night actually) i love to look on the internet at all of the houses for sale and dream about having more space, or a newer home.

so, this last week, my friend, the real estate agent, took me on a tour of a very cute old, but new house in our neighborhood.

IMG_2632

it has the best of both worlds. old and choke full of character, but a new squeaky clean that lets you dream of just moving right in and not needing to do a thing.

IMG_2640

no projects. no demolition.

IMG_2654

just a chance to move in and start enjoying the space and dreaming of all of the meals you’ll make.

IMG_2650

or the naps you’ll take.

IMG_2643

and the long soaking baths you’ll get to relax in.

IMG_2657

and then my mind wanders to the backyard and how it would be so fun to have grammy and papa come stay in the guesthouse.

IMG_2664

and be so close that we could send our son to their little house in the backyard to play

IMG_2665

or make cookies.

IMG_2668

or take a bath in their bathtub, while we are taking naps in the big house.

IMG_2661

then i start dreaming about painting furniture in my own little studio.

IMG_2658

and planning a party in our spacious backyard,

IMG_2663

where all of the plants are still alive and thriving and haven’t been killed yet from my lack of watering.

IMG_2659

i think about the swing set i would like to put in for my son and his friends.

IMG_2670

and all of the vegetables and fruit we would eat from our very own garden.

IMG_2662

and then just as i am headed back to my house to start packing my bags, i remember that though this spacious old, but new house would be perfect for our little family, and though it is completely out of our price range (probably the most important detail), i remember that i love me a good project. i love to be able to fix things up and love them back to their original. i love a good before and after. i love an old home that has some patina scratched into the floor. i love an old house that’s not squeaky new and clean. i just like an old house that has life in it. the place our family calls home.

i’m not sure where God is leading us. whether he wants us to be renters or homeowners, but one thing is for sure: he is in control and he has a great plan for us. and for now, he answered our prayers and provided us exactly what we asked for: a home that is quaint, small, and old. so, i think i’ll keep dreaming….after all, God is listening (but maybe this time i’ll dream of the closets being a bit bigger). 😉

diy: removable wallpaper

lets talk about my kitchen for a sec.

it.is.ugly.

okay, not that bad, but it definitely is not my favorite room in our house. it’s small (with not a lot of counter space), no dishwasher (except we recently purchased a portable one that we can roll over to the sink…a pain, but better than nothing), and it has the ugliest wood paneling you ever did see (sometimes visitors tell me they think it’s quaint. and then i mention that we should add it in their kitchen and then they agree: it’s ugly).

(before diy: removable wallpaper was added)

IMG_2421

also, i don’t think i mentioned this before, but we are renting our little old house, so the wood paneling has to stay. ugh. to remedy my eyes from the burning glow of orangey wood paneling, i came up with a plan to disguise it temporarily.

it now looks like this:

(after diy: removable wallpaper was added)

IMG_2699

the idea for this wallpaper came from this blogger (i’m probably going to mention her a lot….it’s one of my constant reads in blogland). she painted her design on her walls, but since i’m renting and painting was not an option, i came up with a plan for a removable wallpaper.

here’s how i did it.

IMG_2680

supplies: contact paper, scissors, pen or pencil, exact-o knife (forgot to add it for the pic, oops), and a design stencil. i got mine here.

step 1: trace design

IMG_2690

step 2: cut out design

IMG_2692

step 3: stick design to wall

IMG_2694

it’s that easy.

it’s not perfect, but i’m okay with that. once you step back, the design takes over and each little imperfection is masked (or at least i tell myself that).

you might want to start your design in the middle of the wall and then just work your way out.

IMG_2693

eventually, your design will start to appear on the wall.

IMG_2696

it doesn’t take very long. maybe an hour to trace, cut and stick a wall this size:

IMG_2427

and the best part, is that it’s removable. so, when you are ready for a change, or move out, just peel each piece off and you’re done! your landlord will never know!

i’m sure there are a zillion different patterns and colors of contact paper you could use.

hope it inspires you to get creative and have fun!

house tour tuesday: my new friend

i am so excited to show you all this house!

IMG_2503

i spotted it a couple of years ago when i was taking my son for a walk. there were cute little buntings hanging in the windows and i somehow just knew i would hit it off with the mama of the house.

IMG_2507

fast forward to this last weekend and i finally got to meet that mama and her sweet family. they were having a yard sale and had the most adorable old farmhouse chair in the sale that i couldn’t pass up. (side note: we had our own garage sale that morning and after ours was done, i hopped on my bike to see what the neighborhood sales had to offer. it’s a sickness i tell you. i’m addicted to old furniture and junk).

IMG_2519

so, after a few minutes of chatting and bonding over our love of decor/diy blogs, i got to take a tour of their cute old house.

IMG_2546

there are so many fun, amazing details of the inside that i think i became speechless. (which if you know me, does not happen often!) 😉

IMG_2621

like this giant pendant lamp that they made (they MADE! oh.my.gosh!). i want one now, too!

IMG_2532

or the cute artwork that she just “threw together.” (M, i want to order some artwork for my house!)

IMG_2513

and pieces of art that she used potatoes to stamp pops of color onto.

IMG_2525

my favorite art piece in her house was this little saying that she did freehand with a pen. (SO cute! and i LOVE its message!)

IMG_2534

there is so much eye candy it’s hard to have a favorite.

IMG_2536

and then before i knew it, i was onto another room. mesmerized by the furniture.

IMG_2597

like this old french iron bed that her parents’ found in Northern California. (swoooooon!)

IMG_2602

and this adorable old keyhole dresser.

IMG_2599

and oh! the details in the kids’ room!

IMG_2607

like a baby mobile made out of twigs and fabric birds that gently sways from the ceiling.

IMG_2594

and look at the artwork, my new friend made for her daughters’ room that she once again, “just quickly threw together.”

IMG_2539

and just when i thought it couldn’t get any better….

IMG_2541

we headed into the dining room and as i turned the corner i noticed….

IMG_2542

this beacon of light coming from the next room.

IMG_2561

the light was coming from a light fixture that the man of the house created (i nearly died).

IMG_2588

everything in the space is just perfect.

IMG_2574

from the antlers on the wall,

IMG_2571

to the shelves made out of wood and old thrifted belts,

IMG_2587

and a mini statue made out of old wire hangers.

IMG_2563

and, of course, another intriguing piece of art that she “quickly threw together.” (M, please throw one together for me! i love it!)

IMG_2547

as i was walking to the front door…i caught a little glimpse of her kitchen (they’re wanting to remodel it, so it’s not quite ready for its reveal). her lovely collection of pyrex was playfully calling my name. i love the pop of color it brings to their space.

i also love that i made a new friend. (and a creative one at that!)

can’t wait to hang out, M, and make something cool out of hangers or wire or something. thanks for the inspiration!

transformation thursday: picture gallery

today when i got home from the beach with my family, there was a little package sitting on our doorstep.

i was thrilled to find out that it was a couple of prints i had ordered through a fellow blogger.

i have had my eye on these prints for a couple of years (that seems so long…why, on Earth did i not buy them sooner? time, money, something always seemed to hold me back). a couple of weeks ago i noticed that there was a sale going on, so i quickly snatched some up.

i’m so glad i did.

they are lovely. they are printed on heavy paper, the colors are gorgeous, and they infuse our space with a couple of great scriptures.

IMG_2497

IMG_2498

here’s what they looked like before.

IMG_2491

i had originally made a mock pair with book pages and decoupage’ and then painted over them with black.

IMG_2488

they were fine for what we needed (which was some sort of art on the wall because we had just moved to our little house at the time), but they were living in the dark.

IMG_2493

they needed to see the light and display their wonderful words.

IMG_2501

and now they do!

i’m still deciding if i should get custom matting for each or cut out the lamp and chair shapes or just leave it as is like this. what do ya think?

also, if you’re looking for some fun art for your home, or perhaps a wonderful wedding or baby gift for someone special, check out Jones Design Company (this lady has talent!).

house tour tuesday: our nook

hi friends!

hope everyone had a great weekend. i spent the weekend in San Diego for a bachelorette party for a good friend of mine. we had a blast!

we had such a blast, that i completely overlooked house tour tuesday. whoops!

so, since i didn’t set up a tour of a house in time to take pictures for today, i took some pictures of our nook in our house.

IMG_2438

it’s a small space, located in the kitchen. when we first moved into our little house we used it in the traditional way of a small dining area. it worked for what we needed, but it was quite squished when we had company over.

so, after rearranging some rooms around last Christmas, this little space became our office area. it works much better for our family.

IMG_2431

it gives me a place to gift wrap, or get crafty. and it gives my husband an area to do our bills (not so fun for him, but practical).

IMG_2441

there is also a little area for our son to eat lunch, or paint, or play chalk on his chalkboard table.

IMG_2458

across from the desk is a message center that lets me organize invitations.

IMG_2462

or display quotes that speak to me.

IMG_2466

or cute little tags from my favorite store in Old Towne Orange (Eikon Home).

IMG_2471

across from the message center is a little shelf that i found at Homegoods (love that store!). i painted it blue and distressed it.

IMG_2449

and then filled it with some of my vintage moonstone dishes,

IMG_2455

and old spoons my dad gave me that were my great grandfathers from the early 1900’s.

IMG_2451

i topped it with a few keepsakes from our wedding (the starfish were our party favors for our guests).

IMG_2454

and because no room is complete in our home without a skeleton key. i added some of those, too, hanging from the old ironing board door that is original to the house (i love all of the nooks and crannies old houses have!).

IMG_2445

thanks for stopping by! have a great week!

transformation thursday: before and after of a master bath

okay, so usually i post small projects i’ve done around the house for transformation thursday, but i am too excited to keep this transformation a secret any longer.

i started this project a few months back. when i first saw the space, it was down to the bare bones or studs in this case. i could see past the construction and visualize what this space could be: light, classic, and luxurious.

fast forward a few months and it is exactly that! i love when a project jumps out of my brain and into reality!

and while i helped with the space planning and consulting of materials and aesthetics, i really have to give credit to my client/friend for putting in all of the footwork of interviewing, hiring, and managing the various contractors (good job, A!). that is no small task!

allrighty, are you ready to see this beautiful before and after of a master bath?!

here it goes….

(OH! and i promised my sweet client/friend that i would add that it’s not 100% done…there are finishing details that need to be added: towels, rug, accessories, etc. and the mirrors over the vanity are just temporary until the new ones are ordered and arrive.)

okay, now that the disclaimer has been read….

enjoy the before and after decor feast for your eyes:

(master fireplace before)

IMG_0667

(master fireplace after)

IMG_2016

i just kinda threw some stuff up on the mantel and added her vintage chair for the pictures. we still need to figure out what will be permanently staying on the mantel, but i love the changes so far.

(master bath hallway before)

IMG_0670

(master bath hallway after)

IMG_2027

(master bath hallway before)

IMG_0671

(master bath hallway after)

IMG_2028

there will eventually be a giant leaning mirror (or hanging, depending on what we find) on the right side of the hallway.

(master bath entry before)

IMG_0673

(master bath entry after)

IMG_1973

custom cabinetry, carrera marble, wood tile, silver accents and a vintage chandelier were added.

IMG_1977

and a sunken tub (swoon!).

(master vanity before)

IMG_0677

(master vanity after)

IMG_1997

(before custom built-ins)

IMG_0679

(after custom built-ins)

IMG_1995

gorgeous glass knobs from Anthropologie were added to the cabinets.

IMG_2013

(vaulted ceilings before)

IMG_0678

(vaulted ceilings after)

IMG_1989

one of the concerns, my client/friend had was whether or not she should have the ceiling dropped to keep it warm enough in the space. i reassured her, begged, threatened (just kidding) 😉 for her to keep the vaulted ceilings.

IMG_1984

she’s so happy she did. i am, too! i think it really adds some drama to the space and showcases the vintage chandelier.

IMG_2005

(tub area before)

IMG_0681

(tub area after)

IMG_1979

when i first came on scene to help with this project, the plan was to put the tub where the shower ended up and have the shower in this area (and cover up these windows and add one over by the shower). again, i pleaded, begged, insisted (okay. it wasn’t that dramatic) that the tub should go here. these windows begged to have a tub underneath them. it not only saved the homeowners money by keeping the existing window locations (and just buy new windows for the space), but also allows them more privacy by having the windows face the back of the house into the backyard. win/win!

IMG_2008

my client/friend has great taste! she did a spectacular job picking out all of the details,

i love every bit of it and how it’s turned out so far! i think i could live in this bathroom. i might just have to move my toothbrush in.

IMG_1991

A, don’t be surprised if you come home one day and i’m watching House Hunters and soaking in the tub! 😉

and thanks, for letting us have a peek, even though it’s not all the way done.